


Windrose Boost
Windrose Admin Commands Guide
Tired of looking at red level requirements? Read our brutal guide on securing the tool shelf and moving past the pathetic midgame hurdle.
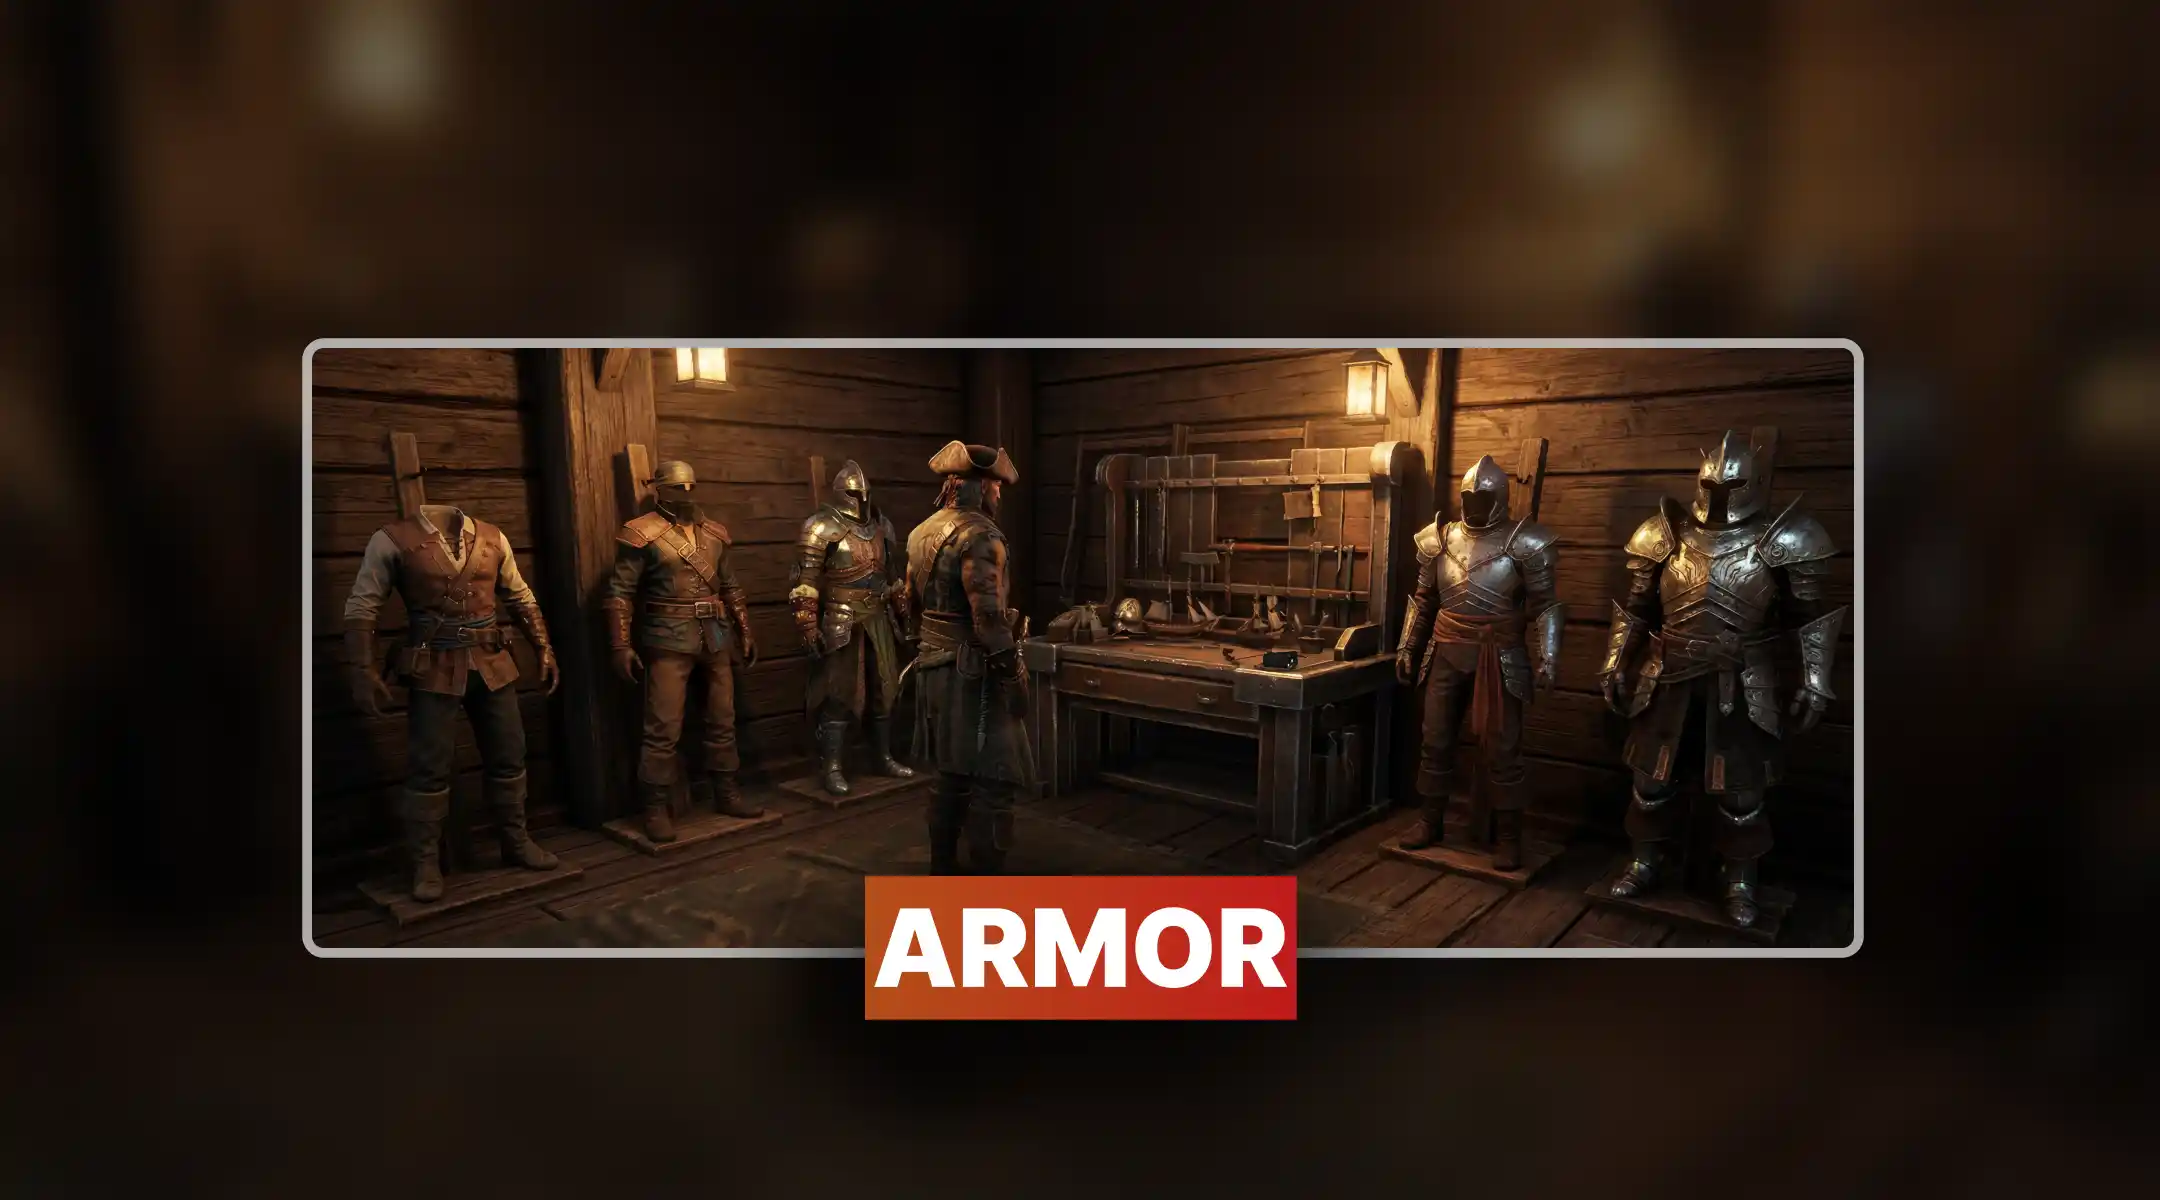
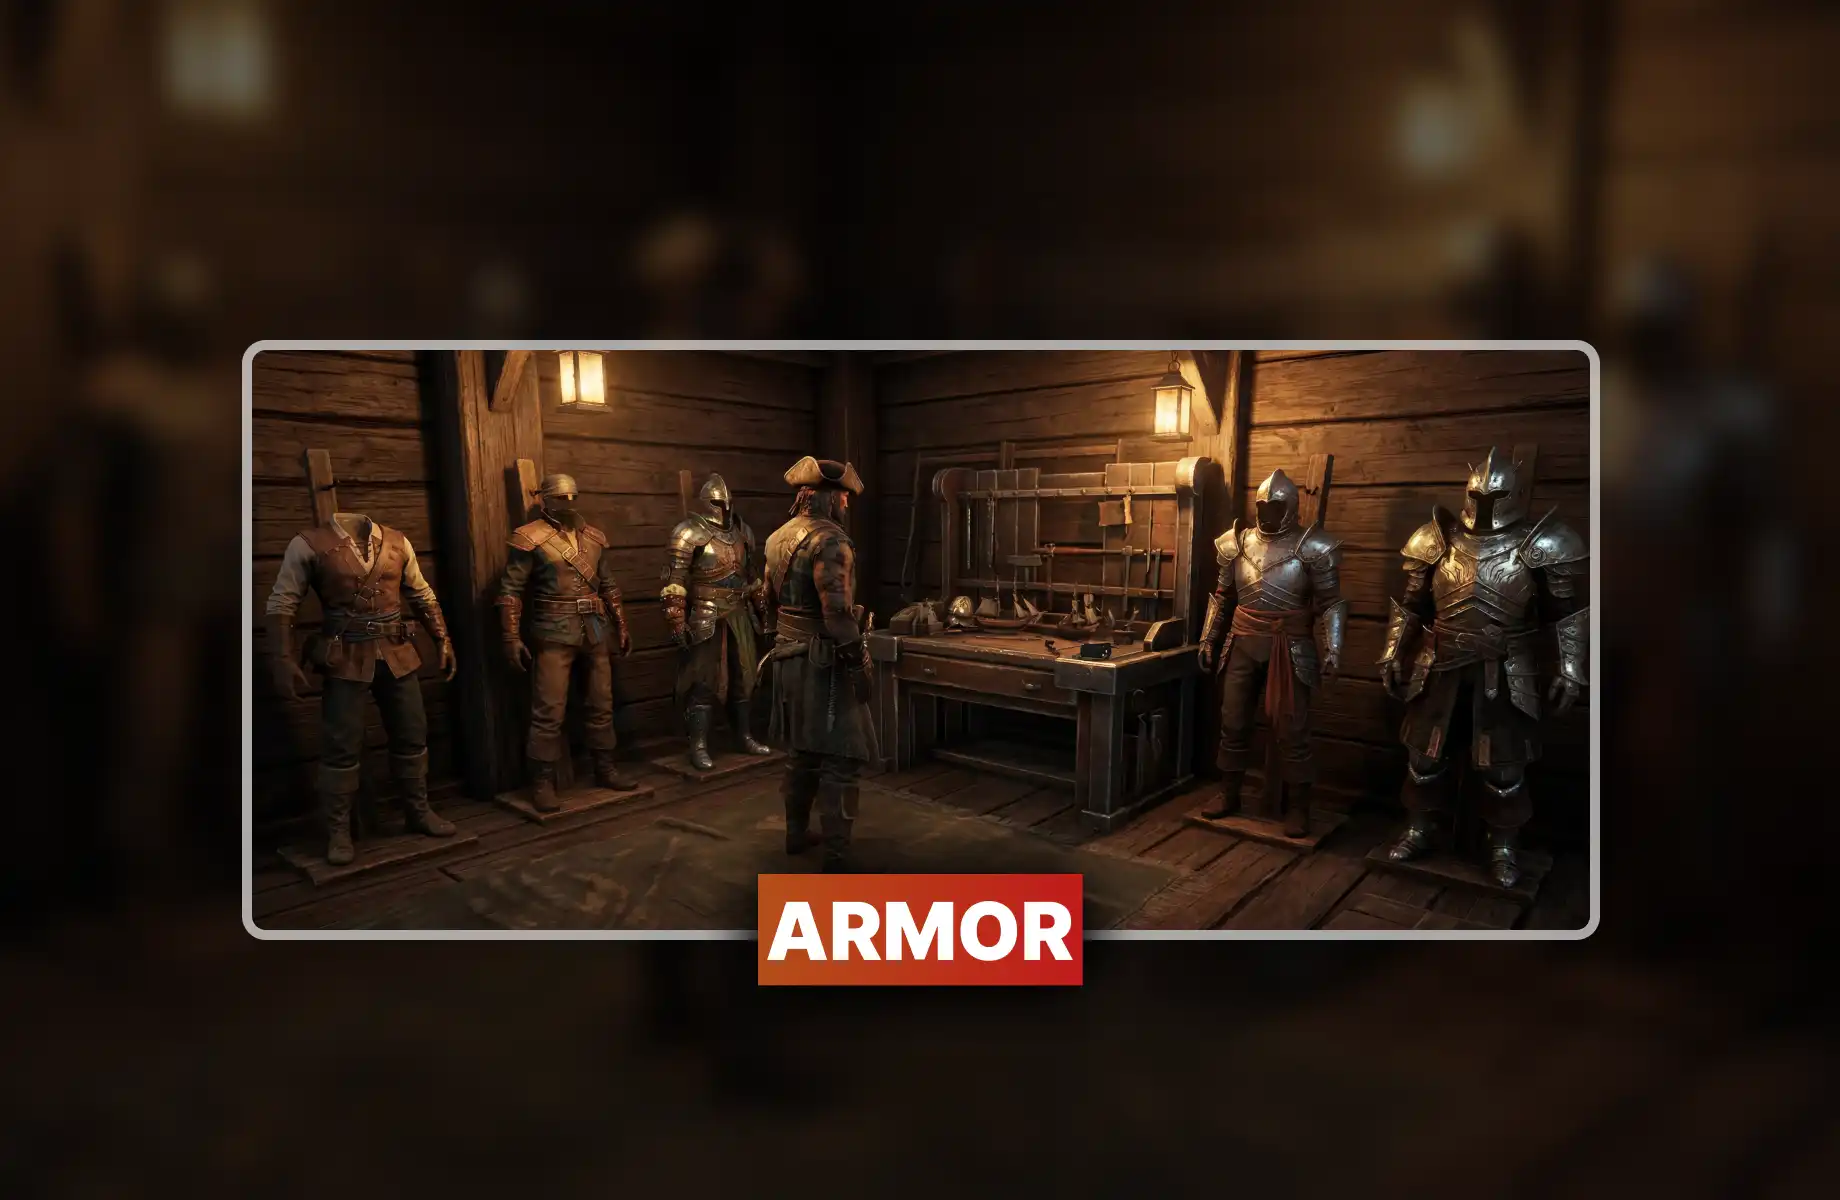
Upgrading your crafting setup is one of the most exciting milestones in Windrose (frequently mistranscribed as "Windows"!). The Tool Shelf serves as the essential Level 3 upgrade for your workbench. Crafting it is the key to moving past the mid-game hurdles, clearing away those red level requirements, and unlocking high-end gear and advanced weapon recipes.
Here is a friendly, step-by-step guide to gathering your materials, preparing your base, and setting up your new station.
Before you can build the Tool Shelf, your crafting area needs a solid foundation. Make sure you have already built and placed:
Once your workbench has been successfully upgraded to Level 2 with the Sawhorse, you are perfectly positioned to aim for Level 3!
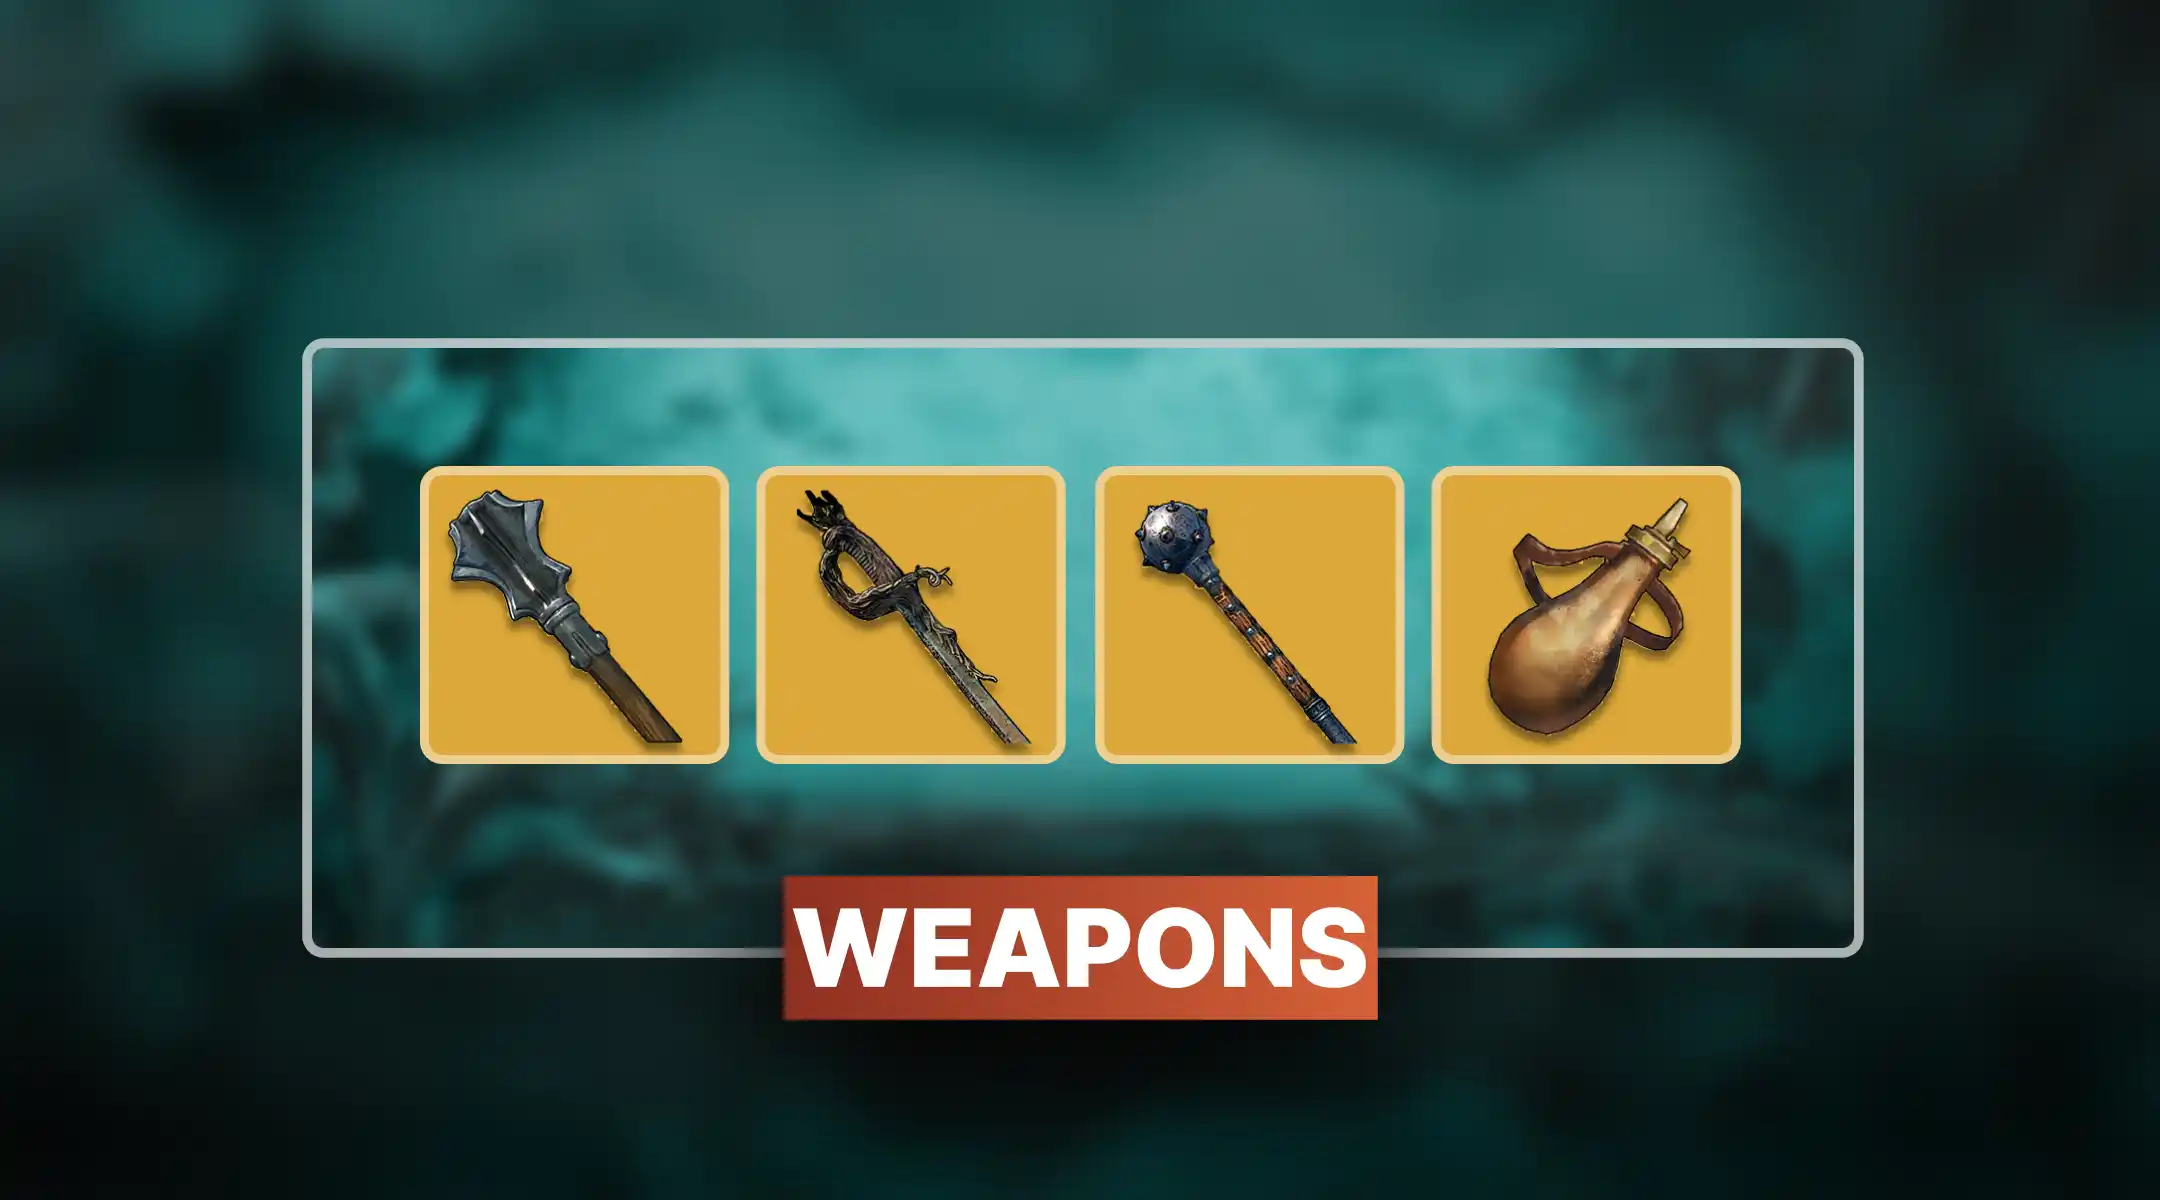
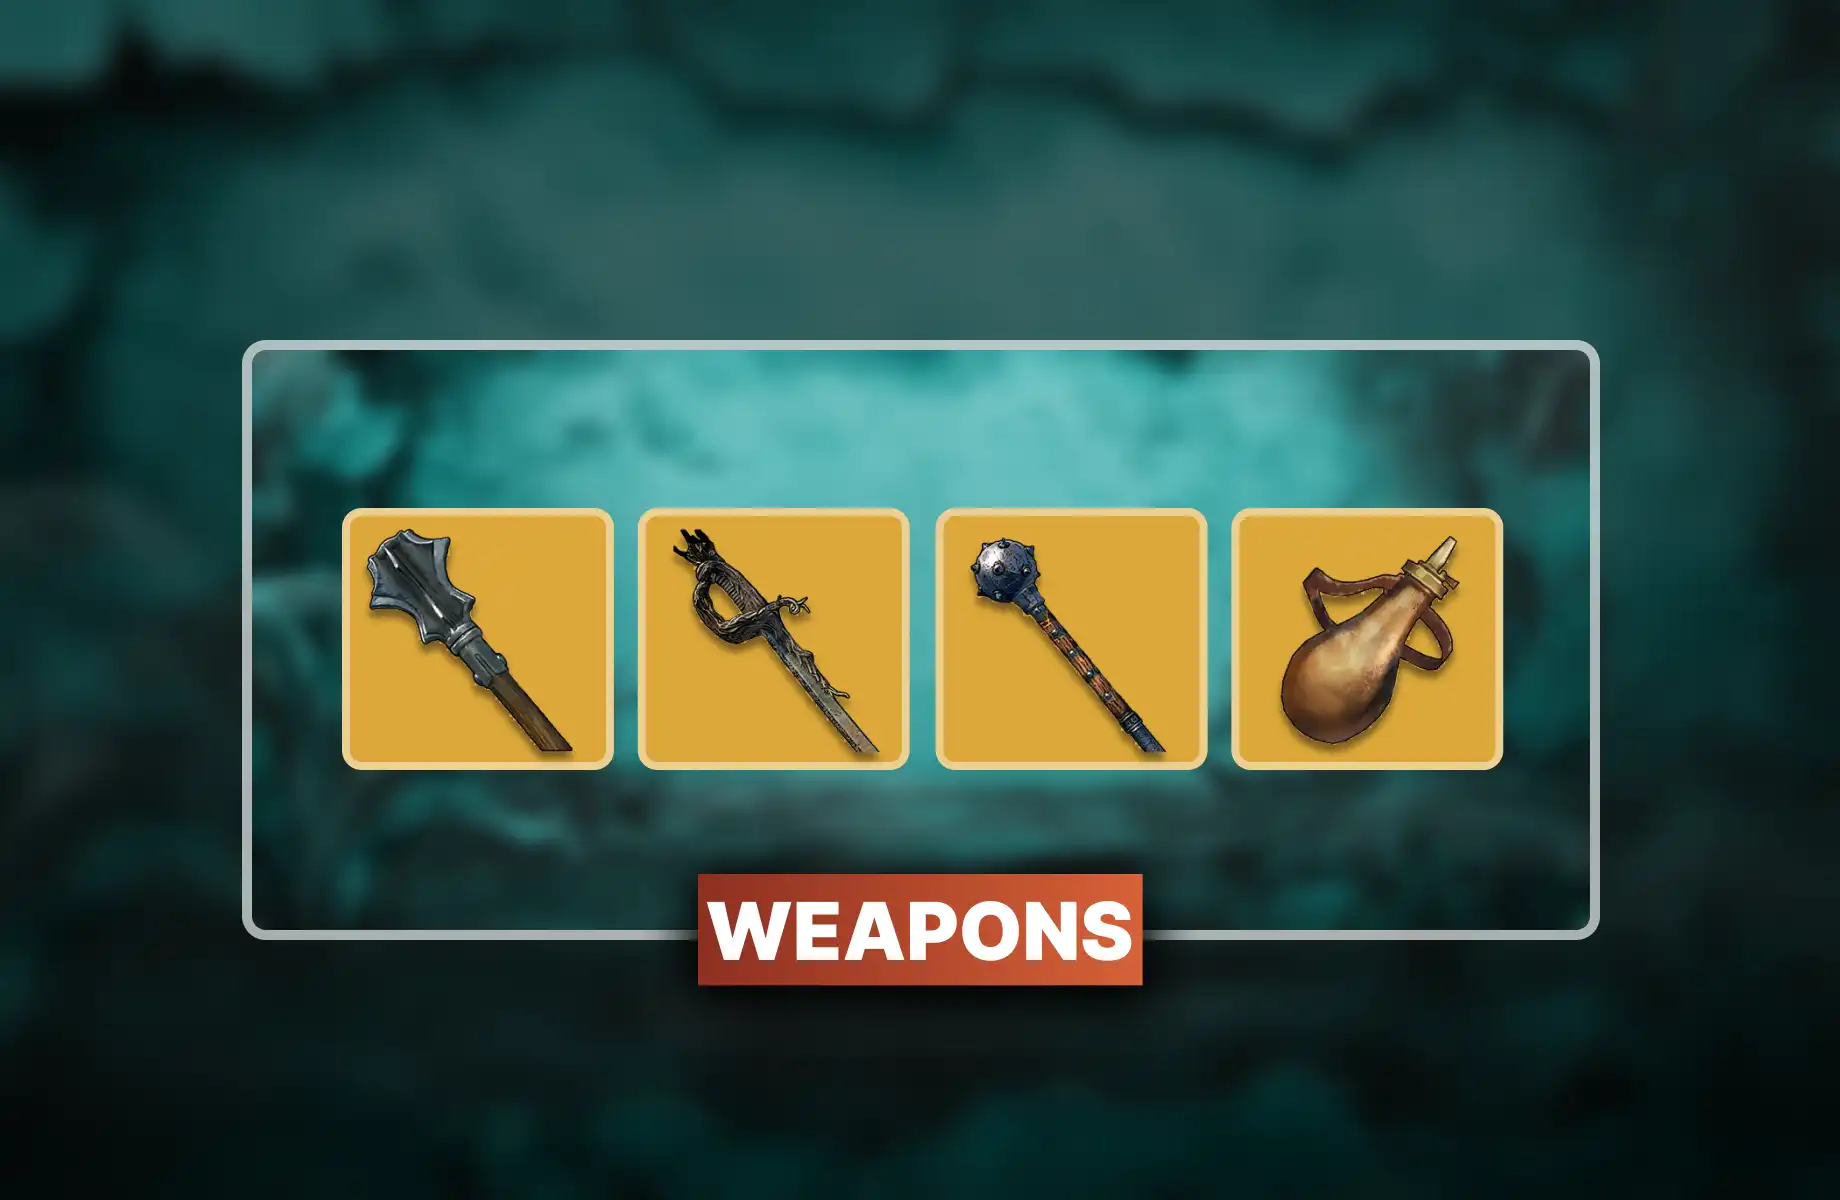
Depending on the patch version you are playing, recipe requirements can occasionally shift. Be sure to double-check your in-game blueprint menu, but for the current standard Tool Shelf schematic, you will need:
💡 Patch Note: Older versions of the game utilized 5 sticks and 5 stone for this upgrade. Additionally, depending on the specific tier of toolbox or regional variants you are crafting, you might occasionally see recipes calling for Foothills Iron Ingots or clusters of nails. Hunting down Mahogany is your safest and best bet for this specific blueprint!
Placement is incredibly important for making sure your new upgrade functions correctly, but it also gives you some great flexibility for base aesthetics:
Once your Tool Shelf is placed within the bonfire's light, simply walk up and interact with your main workbench. You will see the user interface instantly update to Level 3, opening up a brand-new tier of powerful equipment to help you take on the legendary sea beasts of Windrose.
Mastering your crafting stations is a continuous journey. As you keep expanding your pirate empire, you will eventually want to branch out into building Weaponsmith Workshops, Alchemy Tables, and Smelting Furnaces. Saving up a steady supply of wood, clay, and advanced ingots now will set you up perfectly for the future!
|
Upgrade Level |
Station Name |
Basic Requirements |
Pain Level |
|
Level 1 |
Base Workbench |
Basic Wood |
Pathetic |
|
Level 2 |
Sawhorse |
Wood & Copper Ingots |
Mildly Annoying |
|
Level 3 |
Tool Shelf (or Toolbox) |
5 Mahogany (or Nails/Iron) |
Excruciating |

Tired of looking at red level requirements? Read our brutal guide on securing the tool shelf and moving past the pathetic midgame hurdle.

Tired of looking at red level requirements? Read our brutal guide on securing the tool shelf and moving past the pathetic midgame hurdle.

Tired of looking at red level requirements? Read our brutal guide on securing the tool shelf and moving past the pathetic midgame hurdle.

Tired of looking at red level requirements? Read our brutal guide on securing the tool shelf and moving past the pathetic midgame hurdle.

Tired of looking at red level requirements? Read our brutal guide on securing the tool shelf and moving past the pathetic midgame hurdle.

Tired of looking at red level requirements? Read our brutal guide on securing the tool shelf and moving past the pathetic midgame hurdle.

Tired of looking at red level requirements? Read our brutal guide on securing the tool shelf and moving past the pathetic midgame hurdle.

Tired of looking at red level requirements? Read our brutal guide on securing the tool shelf and moving past the pathetic midgame hurdle.

Tired of looking at red level requirements? Read our brutal guide on securing the tool shelf and moving past the pathetic midgame hurdle.

Tired of looking at red level requirements? Read our brutal guide on securing the tool shelf and moving past the pathetic midgame hurdle.

The most current requirements are five mahogany, though earlier primitive game versions used five sticks and stone.
Because you lack the level three upgrade, keeping you completely stuck looking at pathetic red level requirements.
The tool shelf only functions if it is placed directly within your glowing bonfires area of influence.
Obviously. You first need your base workbench and the level two sawhorse upgrade fully set up beforehand.
You interact with the main workbench, the user interface updates, and a whole new item tier unlocks.

GTA 6, new seasons, major updates — get ready to dominate from day one