


Diablo 4 Boosting
Diablo 4 Toughness Stat Guide
Diablo 4 Season 11 tier list – pick S tier legends, learn A–B picks, and avoid D–F traps in the Pit, Azmodan fights, and Tower runs.

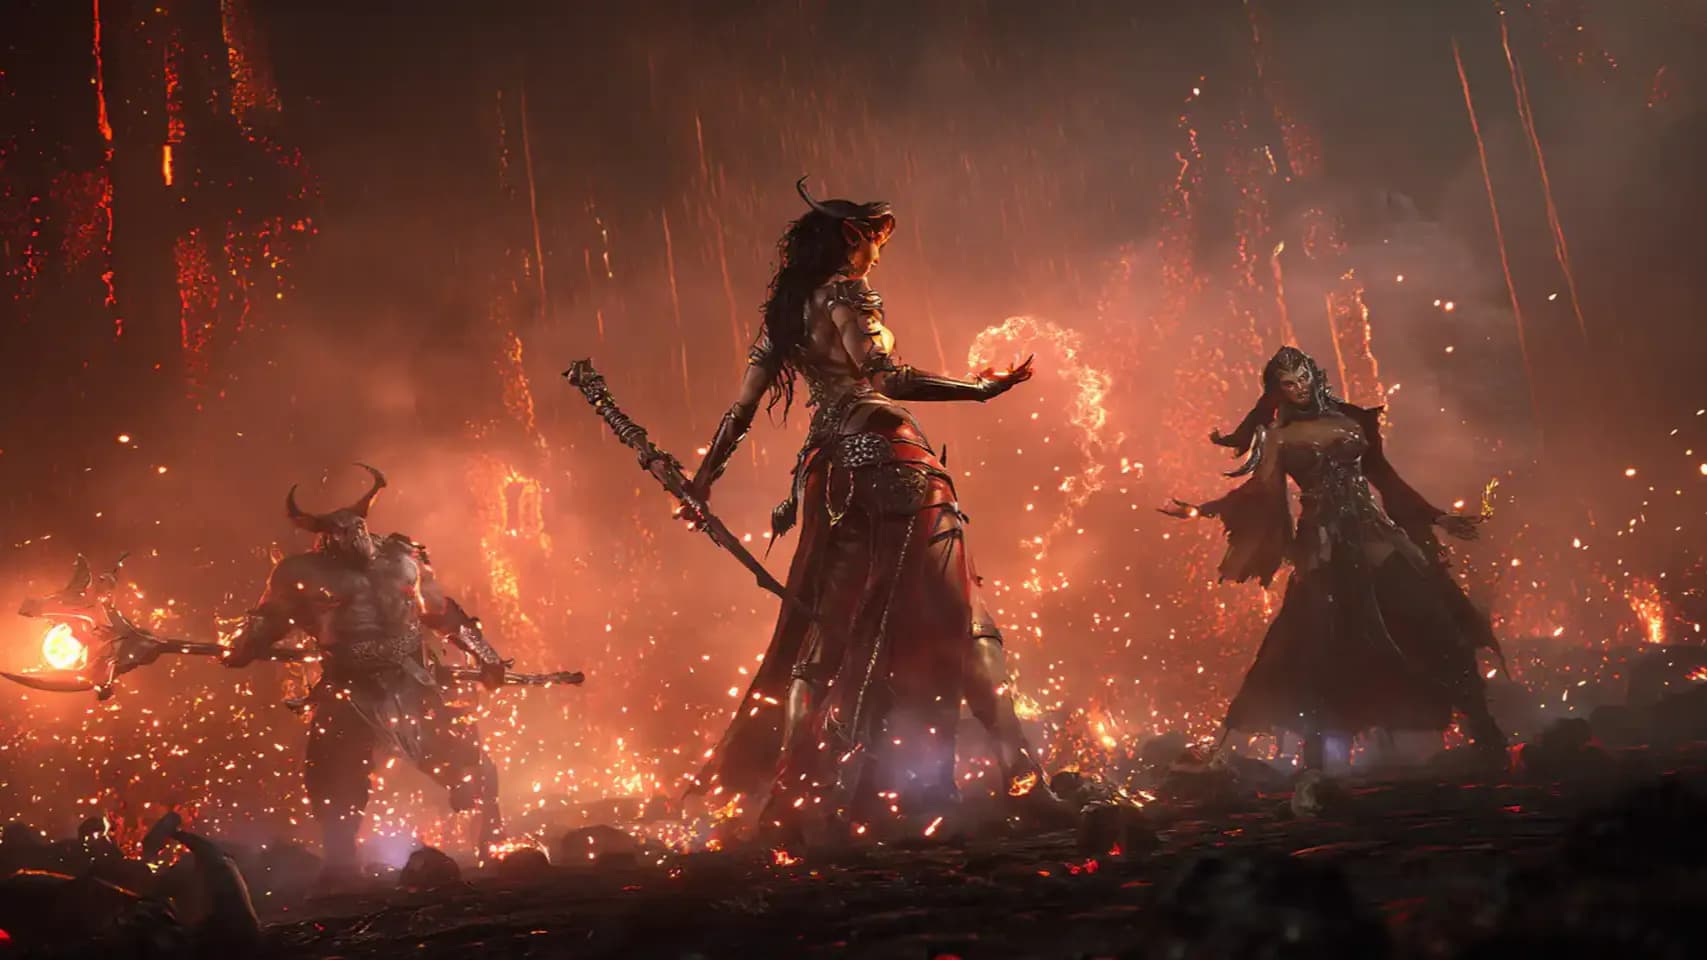
Sanctuary trembles anew as the 11th Season dawns. Divine powers emerge, old heroes grow stronger – or weaker – under the Light’s judgment. Through blood and flame, the champions of Diablo 4 are tested once again. Welcome, wanderer, to the Season of Divine Intervention – a time of shifting fortunes and reborn legends. In this Diablo 4 Season 11 tier list and class build guide, we chart the best Diablo 4 builds and class rankings of this season. Prepare to choose your path wisely, for even the mightiest Nephalem feel the shake-up of buffs, nerfs, and new mechanics that Season 11 brings. May this guide serve you in battle, written in the tome of a Horadrim and spoken with the weight of in-game lore.
If you’re reading this, you might be interested in a discount just for you—my blog reader! Use code CRINGEBLOG to get an amazing discount on any offer in our shop.

Season 11 adds Sanctification powers as the seasonal system, and it also brings mythic item reworks plus a large balance patch. Season 11 also adds a new world boss called Azmodan, and it adds a Tower dungeon with layers and leaderboards.
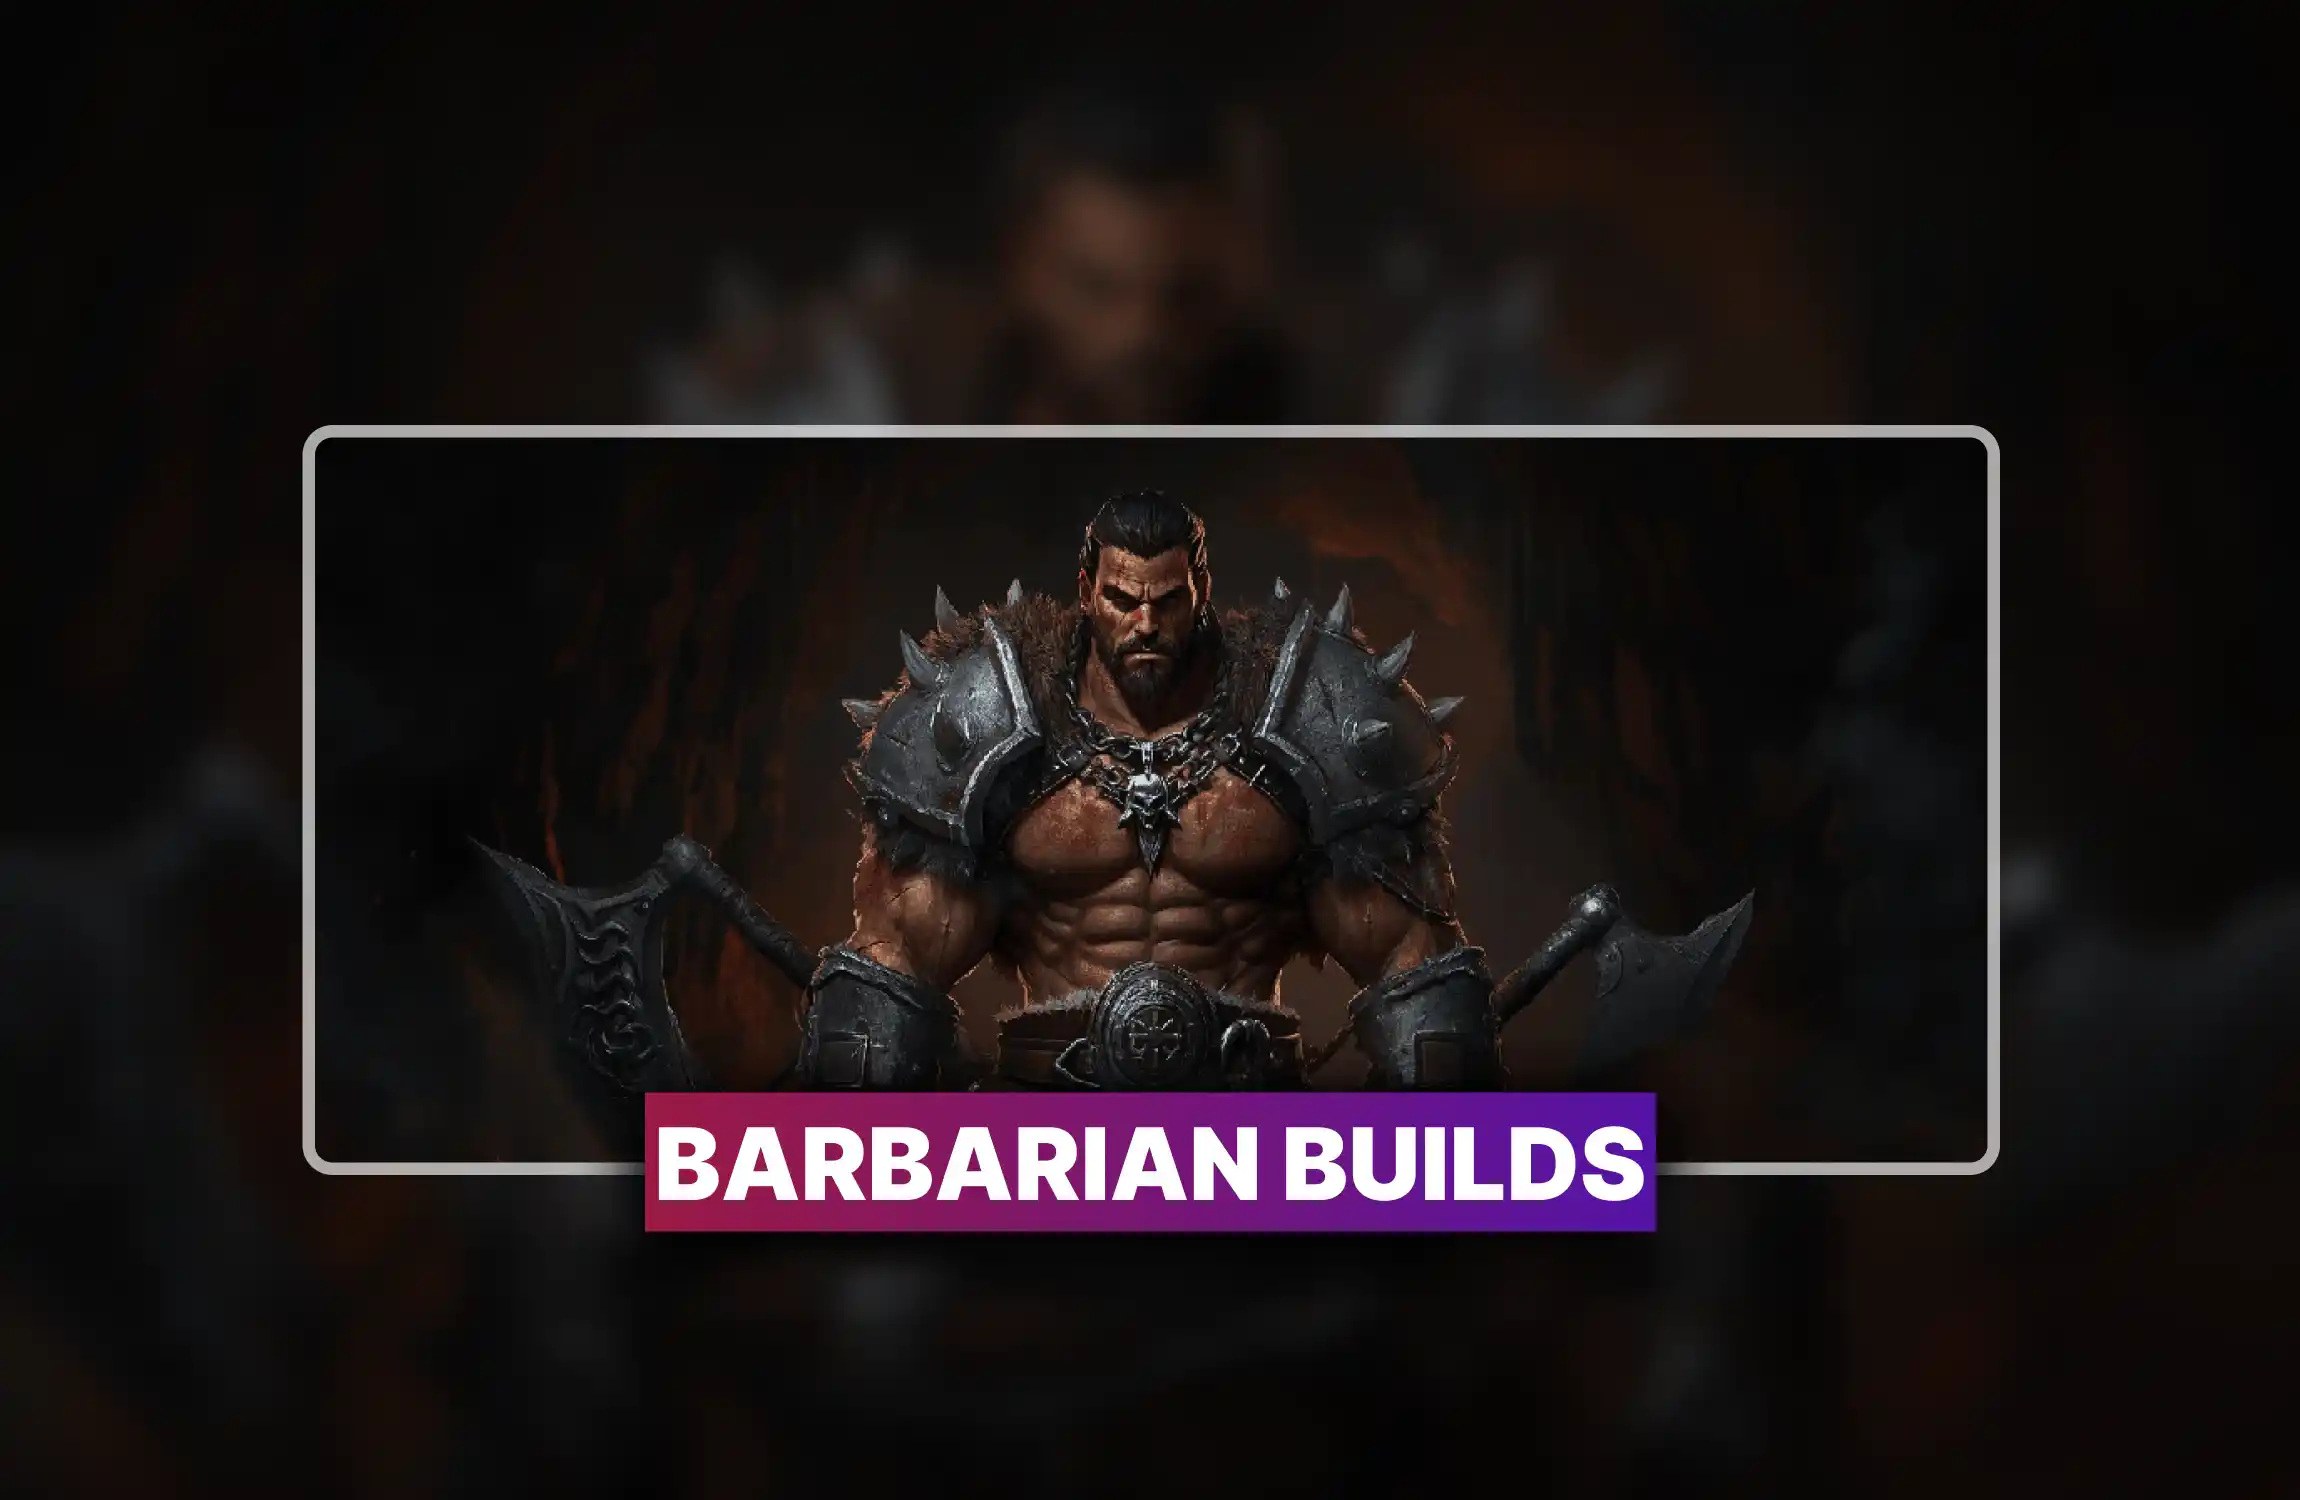
Barbarian gets a strong buff wave. Kick base damage goes from 60% to 100%, and Kick can consume Fury up to a high cap for heavier hits. Hammer of the Ancients gets value from uncapped Fury scaling, plus unique changes like Melted Heart of Selig doubling max Fury pool, while Ramaladni’s Magnum Opus keeps its large damage multiplier. Leap scales with attack speed, and Call of the Ancients duration goes from 6 seconds to 10 seconds. Fortify defenses get toned down, so damage stays high while defense needs more care.
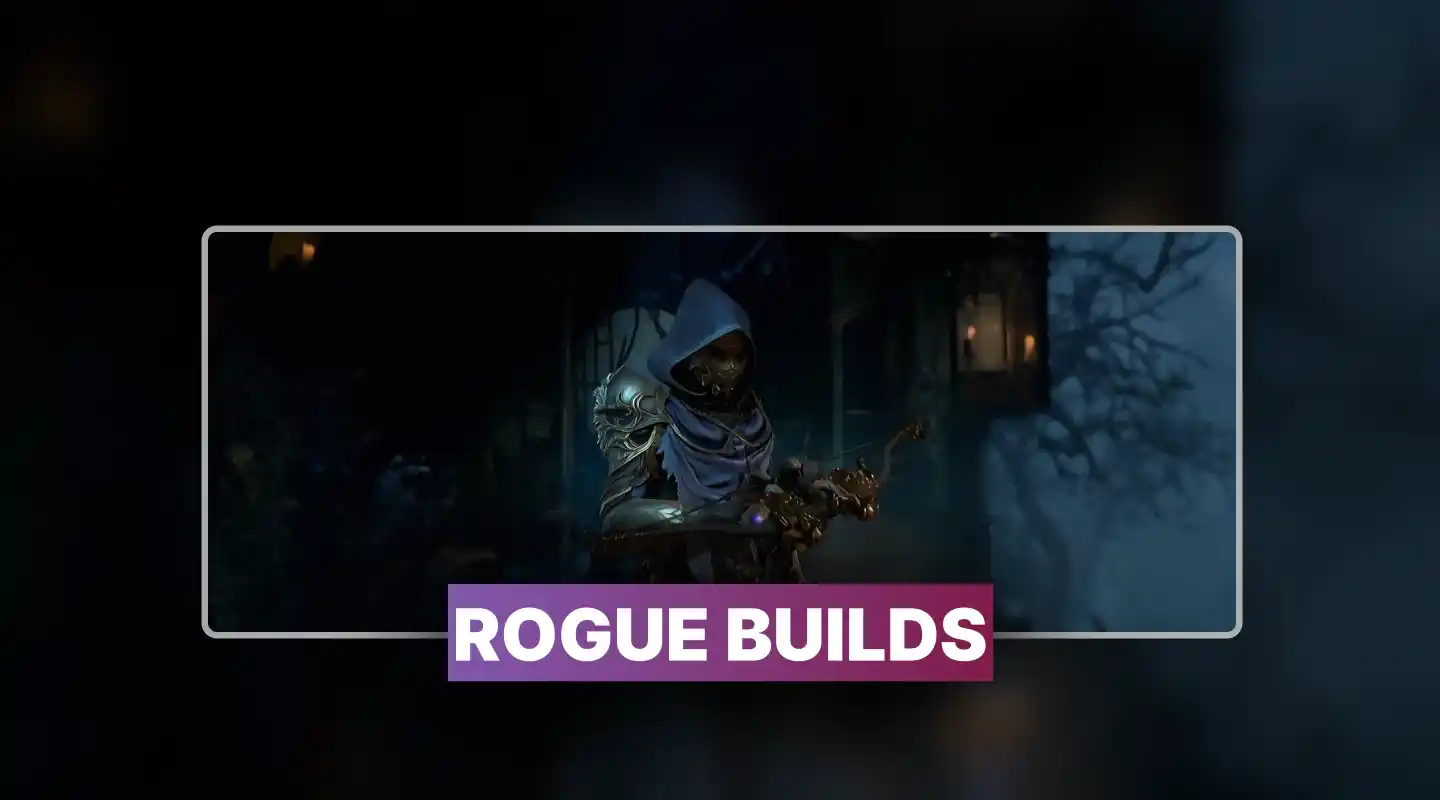
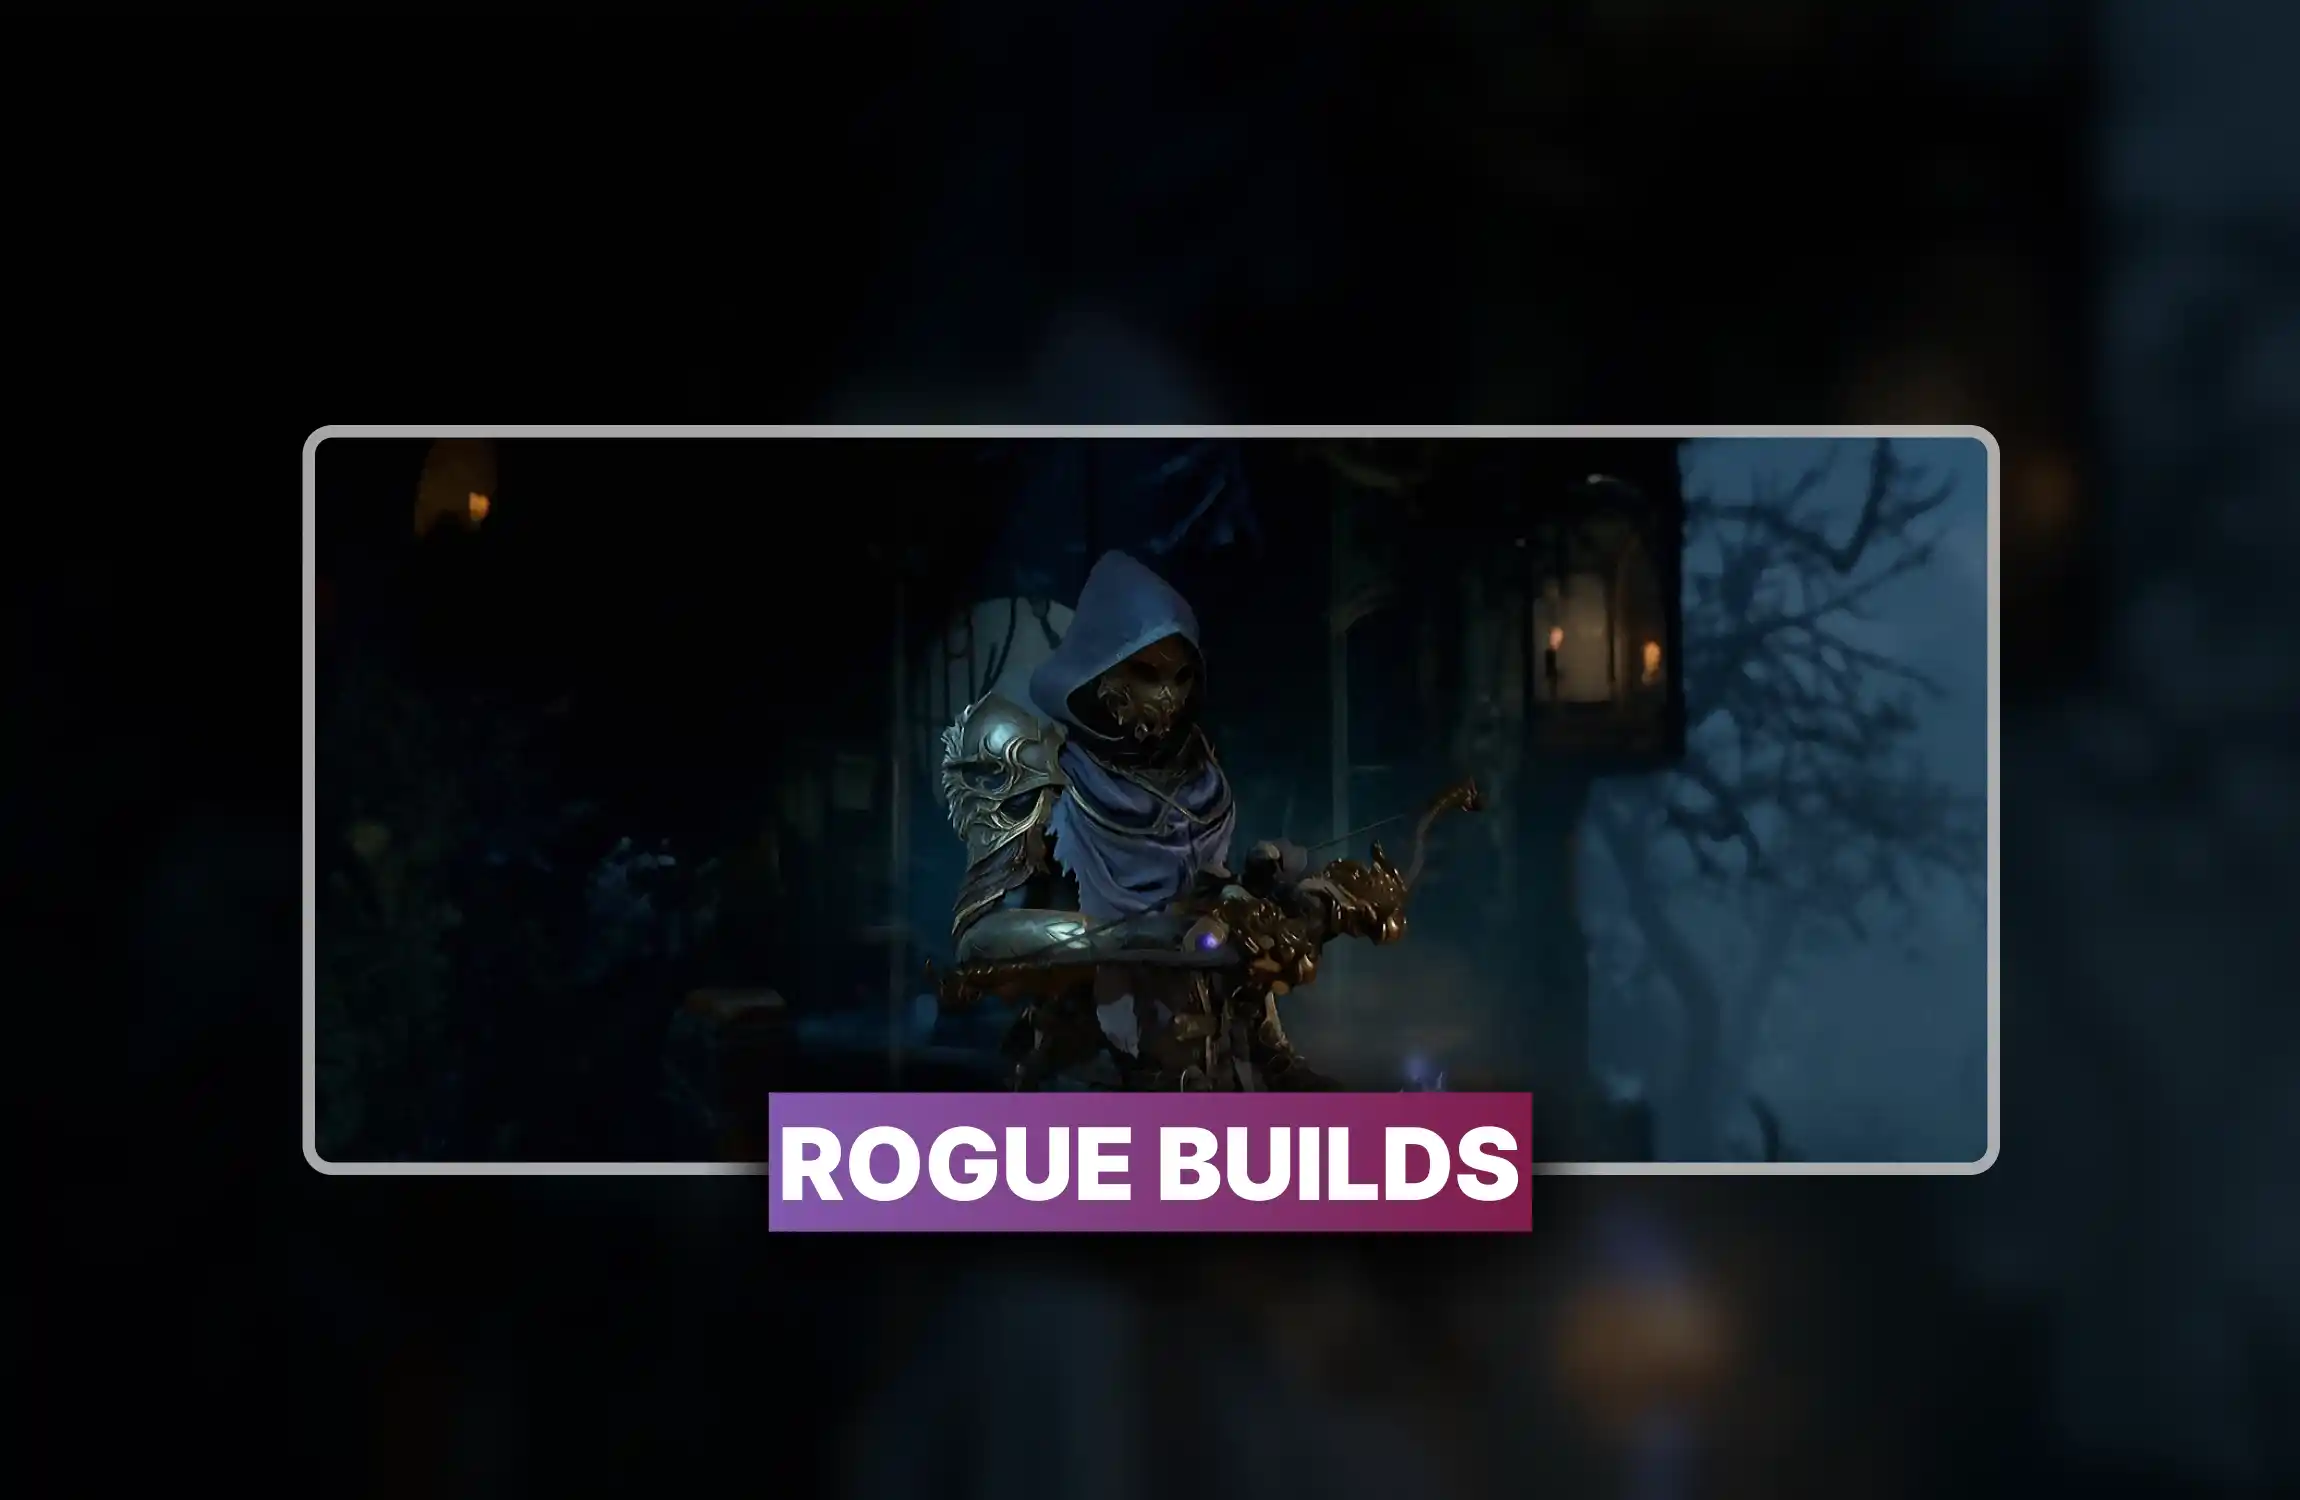
Rogue gets small damage gains and quality changes. Dexterity damage scaling rises from 1.1% to 1.25% per 10 Dexterity. Sustain drops through changes like Flurry self heal getting cut, and Siphoning Strikes lifesteal getting cut. Trickshot aspect damage doubles at max roll, and Bladedancer’s aspect cap rises. Windforce gets a change that gives guaranteed triple damage on knocked down targets. Cooldown Reduction affixes can roll on Rings and Gloves, which helps builds like Death Trap. A new unique pants named Death’s Pavane targets Dance of Knives trap play, and the text marks it as underwhelming after a fix.
Sorcerer gets high damage gains and lower defense. Crackling Energy builds jump up, and Teleport damage goes from 35% to 90%, while Mystical Teleport now always generates Crackling charges. Frozen Orb explosion bonus goes up to 50%, and Fractured Winterglass gets reworked to buff Frozen Orb per active summon and spawn extra orbs. Teleport Enchantment gets a 5 second cooldown, with cooldown reduction blocked for it. Protection passive barrier gets cut in half. Snowveiled aspect stops giving Damage Reduction, and it gives armor instead. A new unique mace named Orsivane gives 40% damage per missing Defensive skill on the bar, and it gives that missing skill’s enchantment for free.
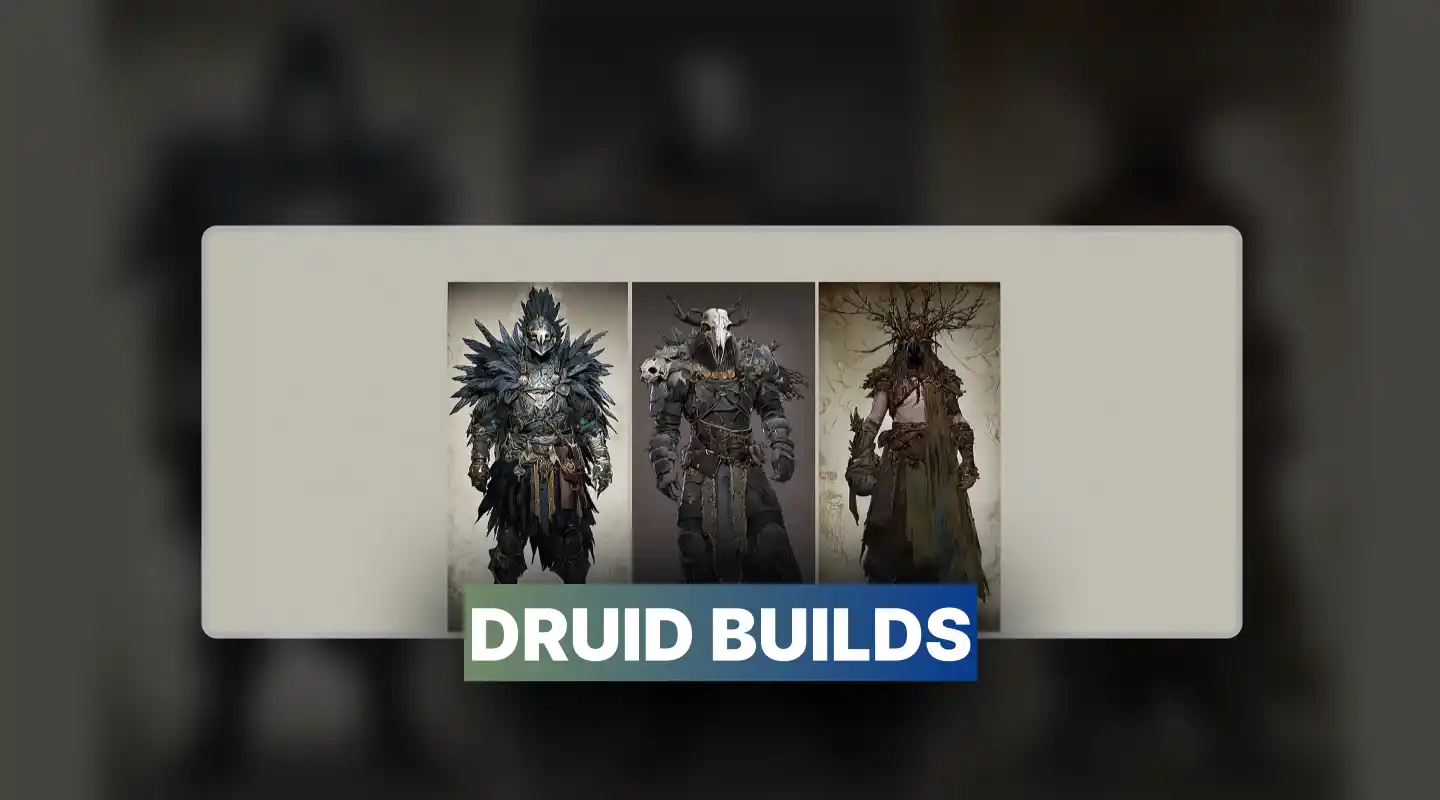
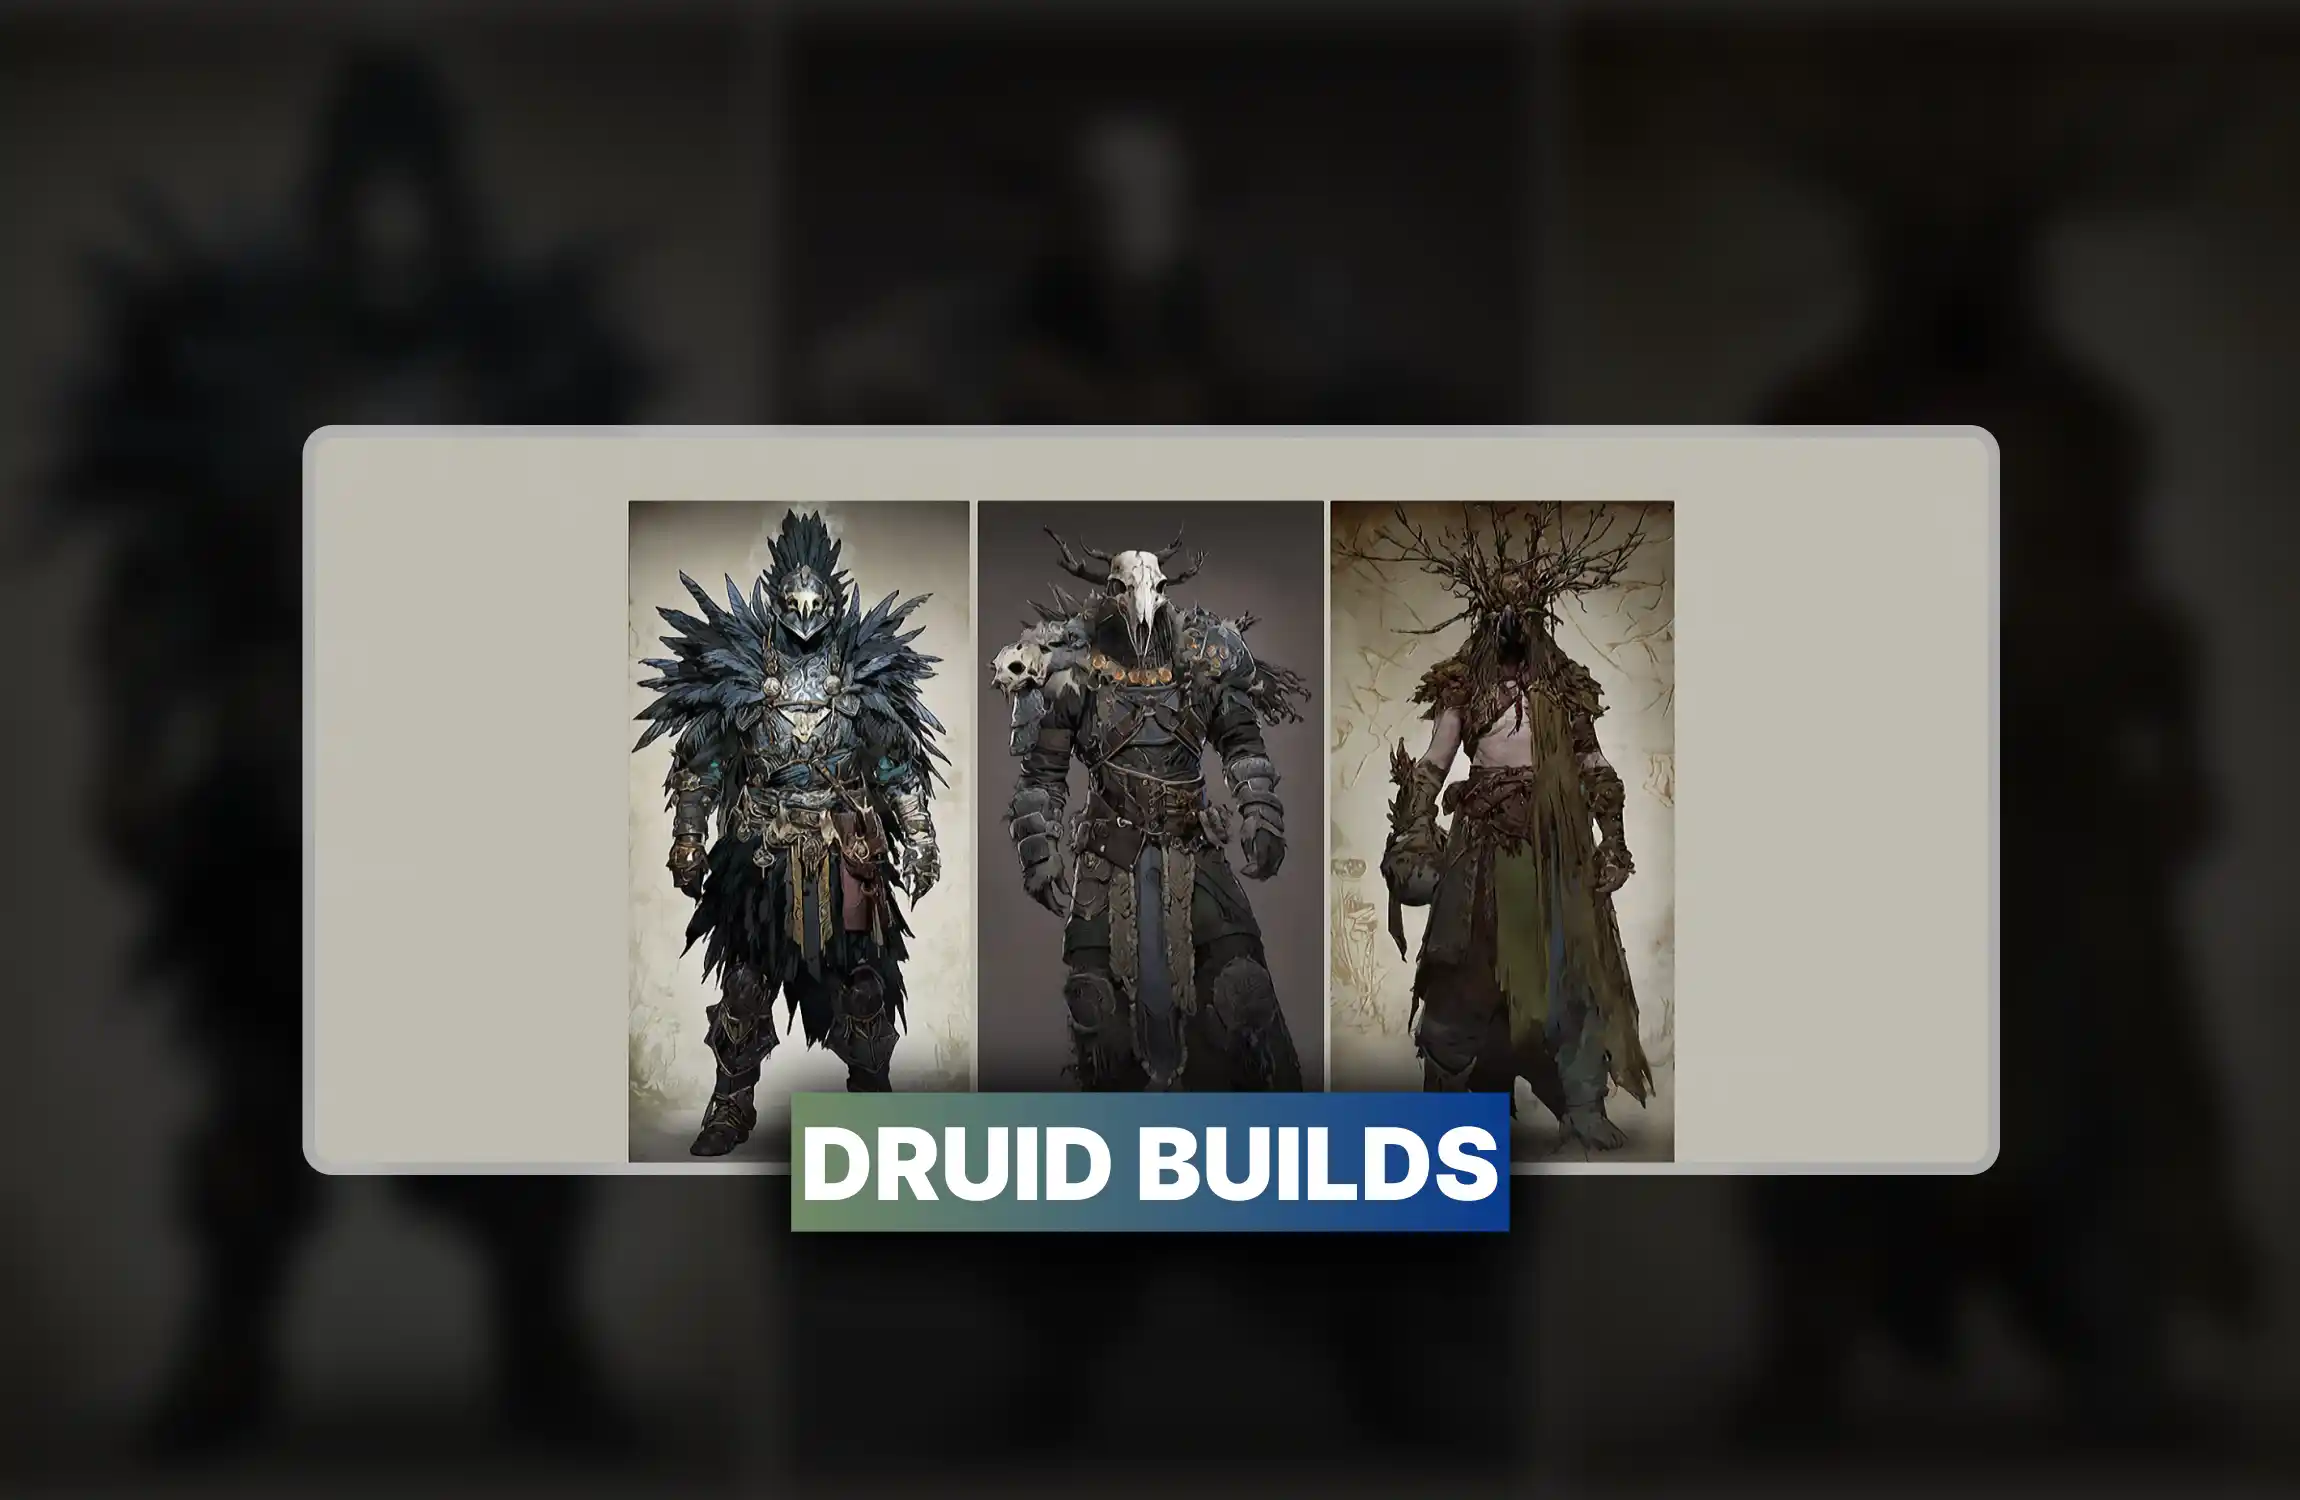
Druid stays strong with a wide set of builds. The text links Druid gains to global content changes called delayering, with less extreme Nightmare scaling, which helps farming with AoE clear and mobility. Pulverize stays a top endgame damage build and is described as able to push the Pit. Shred werewolf and Cataclysm storm builds target fast farming with movement speed and auto targeting lightning. Dolmen Stone helps Boulder builds come online, and Boulder can pair with Shred dash for speed play. Spirit Boons get buffs, and Lupine Ferocity is named as a change that helps Shred crit without gear dependence. Shattered Vow is named as a mythic polearm that boosts poison and thorns for off meta setups.
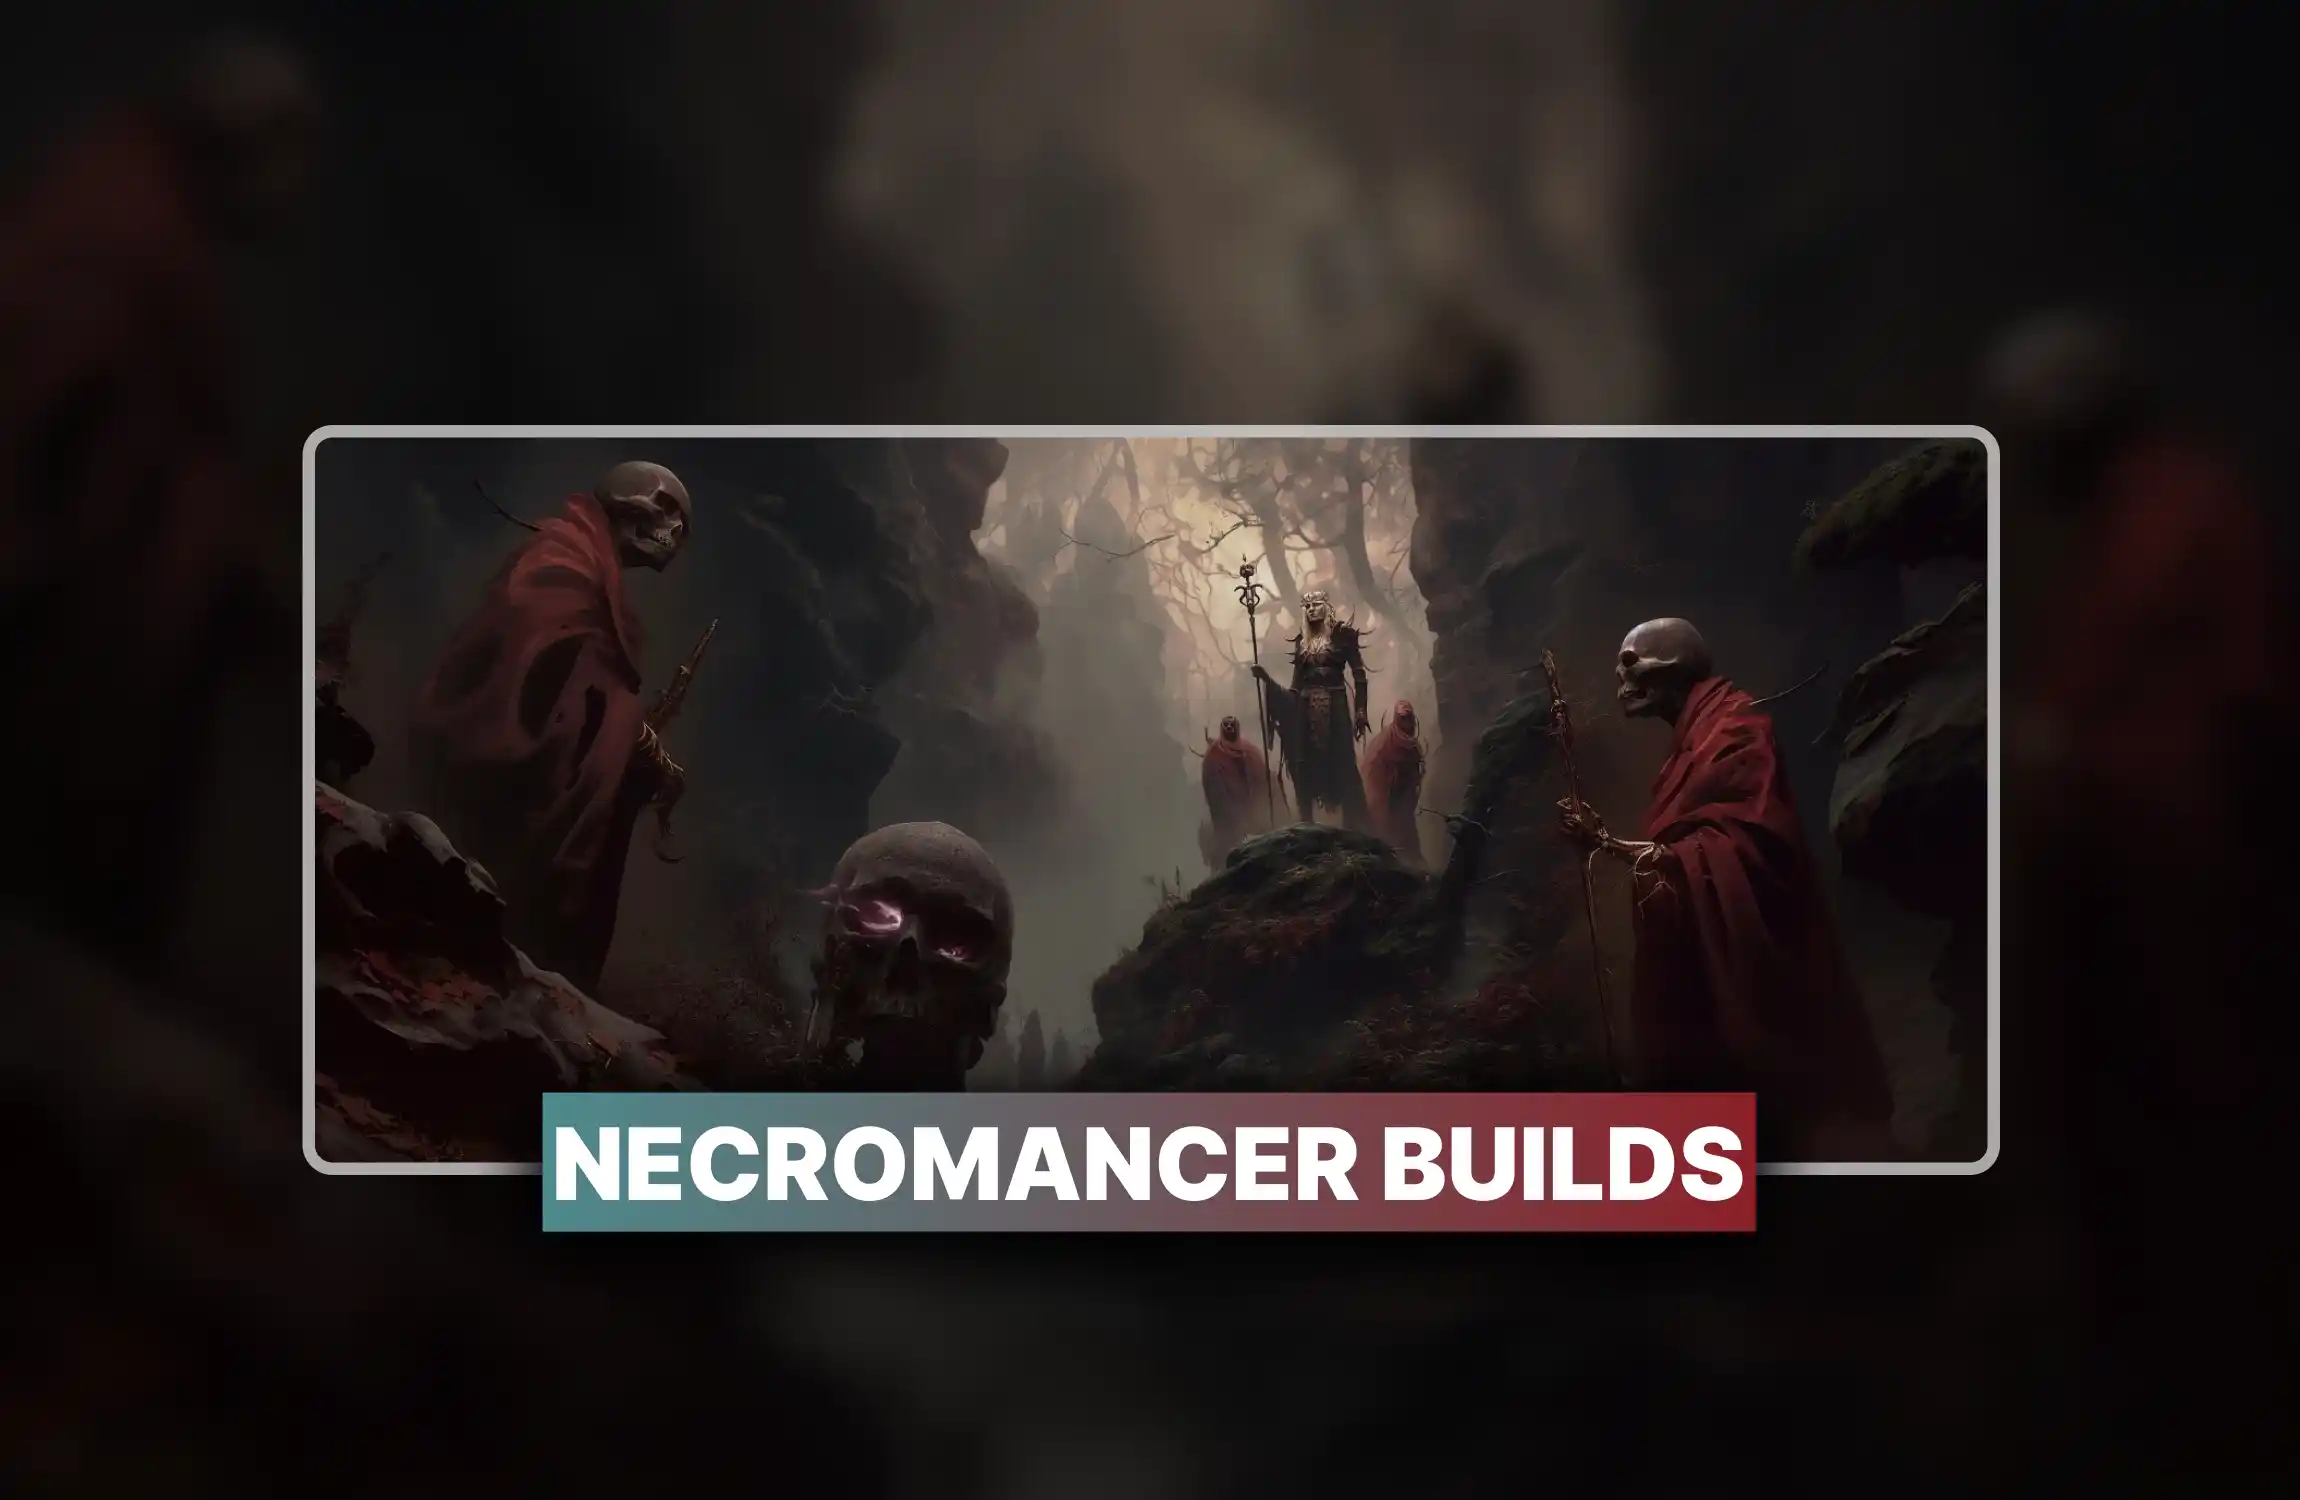
Necromancer meta opens up. Shadowblight minion builds get toned down versus Season 10 power, which leaves room for new builds. A new unique scythe named Gravebloom lets a Necromancer summon three golems, enabling a Golem focused style with sacrifices of Mages and Warriors. Facet of Hunger is named as part of the golem activation damage loop, and the text states this build can clear top content and push high Nightmare. Bone Spear gets a mythic rework through Indira’s Memory pants, adding 20–40% damage and an extra spear when a corpse is consumed. Melted Heart of Selig doubling Essence pool is tied to Bone Spirit burst. Rapid Ossification is stated as fixed to proc multiple times per large cast, which changes Bone Spirit potential. Blood Surge gets a change where its fortify bonus increases its damage by 65% while fortified. Corpse Explosion gets a 30% damage buff, and the text frames it as playable.

Below is the overall endgame tier list for major builds across Barbarian, Rogue, Sorcerer, Druid, and Necromancer in Season 11. This ranking assumes solo PvE endgame performance (Nightmare dungeon “Pit” pushing and general Tier 100 play). Nearly every build here can beat the campaign and clear endgame, but those in higher tiers do so faster or with less effort. We also note each build’s primary skills or unique features. Use this as a reference to find the best Diablo 4 Season 11 builds and how they stack up:
| Class | Build (Key Skills or Aspect) | Overall Tier |
|---|---|---|
| Barbarian | Lunging Strike Barb – Basic spam with Quakes, high mobility and damage | S |
| Barbarian | Hammer of the Ancients Barb – Uncapped Fury nukes and massive crit hits | S |
| Rogue | Death Trap Rogue – Trap bursts with Poison Imbuement, fast farming | S |
| Sorcerer | Crackling Energy Sorc – Ball Lightning loop with endless lightning orbs | S |
| Sorcerer | Hydra Sorc – Fire conjurer with twin Hydras and safe damage | S |
| Druid | Pulverize Werebear – Earthquake slams with large area damage | S |
| Necromancer | Shadowblight Necro – Minions with Blight aura and Mendeln synergy | S |
| Necromancer | Triple-Golem Necro – Three Golems via Gravebloom with strong burst | S |
| Barbarian | Whirlwind Barb – Spin damage with Dust Devils and Earthquakes | A |
| Barbarian | Double Swing or Frenzy Barb – Fast dual wield strikes with sustain | A |
| Barbarian | Bleed Thorns Barb – Thorns scaling with strong sustain | A |
| Rogue | Flurry Rogue – Combo Point slashes with solid area clear | A |
| Rogue | Rain of Arrows Rogue – Ultimate-based screen clearing build | A |
| Rogue | Heartseeker Rogue – Basic bow shots with Orphan Maker crossbow | A |
| Sorcerer | Frozen Orb Sorc – Reworked orbs with summon support and control | A |
| Sorcerer | Blizzard Sorc – Layered frost damage for stationary targets | A |
| Sorcerer | Meteor Sorc – Large Meteor impacts with heavy area damage | A |
| Druid | Shred Werewolf – High mobility melee with frequent crits | A |
| Druid | Cataclysm Storm Druid – Auto lightning storm with high movement | A |
| Druid | Boulder Slide Druid – Rolling Boulder with mixed damage focus | A |
| Necromancer | Bone Spear Necro – Piercing shards with hybrid Blood scaling | A |
| Necromancer | Bone Spirit Necro – Large single-hit burst with high Essence | A |
| Necromancer | Blood Lance or Blood Surge – Blood skills with self healing | B |
| Necromancer | Blood Wave Necro – Ultimate-based area damage, slower clears | B |
| Barbarian | Charge and Kick Barb – Impact burst with stuns, niche play | B |
| Barbarian | Upheaval Barb – Frontal cone damage with timing windows | B |
| Rogue | Twisting Blades Rogue – Mobile burst melee with reduced synergy | B |
| Rogue | Penetrating Shot or Barrage Rogue – Ranged bow damage, early strength | B |
| Rogue | Rapid Fire Rogue – Single-target crossbow burst | B |
| Sorcerer | Ball Lightning Sorc – Non-crackling variant after power loss | B |
| Sorcerer | Incinerate Sorc – Channeled fire beam with slow pacing | B |
| Sorcerer | Fireball Sorc – Explosive projectiles with late-game falloff | B |
| Sorcerer | Charged Bolts Sorc – Short-range lightning with modest scaling | B |
| Druid | Wolves Companion Druid – Companion focus with limited area damage | B |
| Druid | Stormclaw Druid – Trample and Landslide hybrid | B |
| Barbarian | Death Blow Barb – Execute resets with situational value | C |
| Barbarian | Rupture Bleed Barb – Bleed burst with weak scaling | C |
| Rogue | Shadow Step Rogue – Teleport melee with low damage | C |
| Necromancer | Corpse Explosion Necro – Detonation build with limited impact | C |
| Sorcerer | Arc Lash Sorc – Melee lightning mage with minimal use | D |
| Druid | Petting Zoo Druid – Full companion setup with low synergy | D |
| Necromancer | Darkness DoT Necro – Blight damage without support scaling | D |
S-Tier builds define Season 11 power. These builds clear the hardest content, push the deepest endgame tiers, and keep stable performance during bosses and dense packs. Damage output stays high, rotations feel complete, and scaling remains strong through late progression.
This build turns a basic skill into a main damage engine. Lunging Strike gains extreme value from attack speed scaling and resource bonuses. Fury pool growth boosts global damage, and weapon multipliers apply to all hits. The playstyle focuses on fast movement, repeated strikes, and constant pressure on packs and elites. High mobility and stable damage allow deep dungeon pushes.
Hammer of the Ancients relies on Fury stacking and single hit impact. Damage scales directly with stored resource, so preparation matters before each slam. Area coverage improves through aspect support, and survivability stays stable through Fortify interaction. This build deletes elites and bosses with controlled timing and massive burst.
Death Trap Rogue controls the battlefield through pull, burst, and reset loops. Cooldown reduction enables frequent ultimate use, and trap synergy weakens enemies before detonation. Movement skills keep the Rogue safe during rotations. This build clears content fast and supports group play by grouping targets for area damage.
Crackling Energy Sorcerer converts movement into damage. Lightning orbs trigger constant hits around the character, scaling with shock skills and enchantments. Teleport supports aggressive positioning, and damage ramps naturally during combat flow. Defense relies on spacing and timing, while offense melts dense enemy packs.
Hydra Sorcerer applies sustained pressure through summoned heads. Damage continues while repositioning, which creates stable uptime during fights. Burning effects scale output, and placement strategy controls space. This build favors safety, consistency, and strong performance in long encounters.
Pulverize Druid dominates through overpower hits and wide area slams. Earth conversion and fortify synergy keep the build durable during close combat. Damage spikes during guaranteed overpower windows, which clears packs in one rotation. This build excels in deep endgame and heavy density content.
Shadowblight Necromancer builds damage through minion pressure and shadow stacking. Explosions trigger after sustained hits, clearing screens without direct casting. Minions absorb pressure, and the build keeps strong speed during open content and events. Performance stays reliable across activities.
This build focuses on golem command and burst windows. Triple golems deliver heavy area damage during active use, and sacrifices boost their power further. Corpse generation supports control skills, and timing active abilities defines damage peaks. This setup pushes high difficulty content with controlled execution.

A-Tier builds clear endgame content and stay reliable in most activities. These builds can push high tiers, yet they often need tighter execution, stronger gear, or more careful positioning. Damage stays strong, pacing feels smooth, and weak points show mainly in extreme boss checks or peak pushing.
Whirlwind stays a top farming style due to constant movement and steady damage. Season 11 adds a crit window that persists for about five seconds after Whirlwind stops, so finishers can land with the stacked crit bonus. Damage grows in dense fights through extra ground effects like Dust Devils and quake style procs. Single target damage can lag behind the largest burst builds, so deep solo boss checks can take longer.
Frenzy relies on attack speed stacking and sustained hits. The build stays sturdy through frequent contact and Fortify flow, while damage scales through basic attack support. Double Swing plays as a fast core style with strong stun value and stable Berserking uptime through aspect support. Both builds deliver high uptime damage, yet the peak burst can sit below top tier slam builds.
Flurry gains power through aspect tuning and solid melee clearing. Combo Points keep damage pacing predictable, and Vulnerable uptime stays reliable through common skill pairing. Sustain exists through hit based healing, though that healing value is smaller than earlier seasons. This build feels stable for leveling and general endgame, with weaker boss burst than the top trap ultimate loop.
This build clears screens through ultimate volleys and ranged safety. Barrage synergy grows through ranged aspect buffs, so the core skill supports the ultimate window well. Poison setups add strong damage over time, and the ultimate can finish whole rooms fast. Cooldown windows define the pacing, so damage drops between ultimate uses if the core setup is undergeared.
Heartseeker can work as a high tier push build with the right unique support. The damage pattern relies on reload spikes and crit flow, so the rhythm feels slower and more methodical. Single target damage can be strong, yet the build can feel clunky without correct timing and strong rolls. This style suits players who want safe range play with planned bursts.
Frozen Orb gets real support through damage buffs and a reworked unique that scales orb damage with active summons. Summons can also trigger extra orbs, so the screen fills with repeated explosions during sustained fights. Damage feels strong in density, yet moving targets can reduce value because orb placement matters. This build stays solid for dungeon pushing and general farming when control tools keep enemies inside the impact zone.
Blizzard remains a steady area damage build. It wins through stacked storms and long fight uptime, while defense now needs more care because Season 11 cuts several Sorcerer safety tools. Enemy movement can lower damage, so freezes and pulls matter for consistency. This build shines in fights where targets stay grouped and locked down.
Meteor stays powerful with high impact bursts and strong burning synergy. The build can feel clunky due to cast rhythm and delayed hits, yet damage remains high when enemies are grouped. Inferno style pulls can set up clean meteor landings, and fire enchants support leveling and transition. Speed farming can feel slower than instant hit builds because targeting matters.
Shred wins through mobility and fast map pacing. Critical spikes come from Lupine Ferocity, so gearing feels simpler around crit chance needs. The build sticks to targets and avoids danger through movement, yet raw damage can sit under top bear slam styles in long boss fights. Target selection matters because leaps can drift if aim is loose.
Cataclysm offers auto damage with wide area coverage during movement. The build focuses on uptime through cooldown work and movement speed, with storms doing a large part of the clearing. Single target pressure can lag behind dedicated burst builds, so peak pushing can feel slower. Farming feels smooth because the build demands less aiming and less stopping.
Boulder gains stronger entry through Dolmen Stone support and hybrid movement pairing with Shred. The build offers solid area damage and fun knockback play, while gear needs can slow early progression. Damage can spike when enemies get pinned, so positioning and terrain matter. This build sits as a flexible option that trades early comfort for strong endgame feel.
Bone Spear returns with strong scaling through new pants that add direct damage and an extra spear when a corpse is consumed. It clears lines of enemies fast and still hits bosses hard with correct setup. Bone Spirit gains value from large Essence pools and cooldown mechanics, so it can delete single targets during full resource nukes. Both builds can suffer in downtime windows, so pacing depends on resource refill and setup control.

B-Tier builds clear endgame with the right gear and correct play. Speed and burst sit below top tiers, and comfort can drop in high push content. These builds still finish Nightmare runs, and they still handle bosses, yet they reward patience and tighter execution.
Twisting Blades remains viable after old nerfs. The damage pattern depends on sticking close so returning blades pass through targets, and Bladedancer’s Aspect boosts the return damage. The build can feel less safe due to lower healing tools, and it can feel inconsistent versus spread ranged packs. Boss burst stays strong when contact time stays high.
These ranged builds stay solid, with good room clear and safer distance. Damage needs setup through Vulnerable and imbuements, and the result depends on enemy alignment and movement. Energy can drain fast, so pacing and basics matter. PvP value can rise, yet PvE ranking stays mid due to consistency limits.
Rapid Fire focuses on single target pressure through repeated hits. Group clear depends on positioning and bounce style effects, so density fights can slow down. The build remains workable for bosses, while speed farming can feel slower than trap or melee clear styles.
Upheaval offers wide cone damage and solid clears, yet it needs aim and has slower animations. Rupture relies on bleed setup and then a pop, and the payoff can feel weak compared to other Barb options. Death Blow can chain resets on kill, and it feels great in packs, yet it depends on consistent resets and correct tuning. These builds clear content, yet they sit below HotA and top mobility setups in output.
Incinerate scales into endgame, yet channeling limits movement and lowers speed farming value. Fireball deletes weak mobs well, and it shines in large wave content, yet single target damage drops versus high health enemies. Both builds remain playable, with clear strengths in density and clear weaknesses in boss checks.
Charged Bolts can hit hard at close range, yet the spread feels inconsistent and range stays short. Arc Lash sits lower due to damage and survival pressure in high tiers, while hybrid setups can still clear mid content with correct aspects. These builds work, yet they feel less reliable at the top end.
Wolves builds stay decent, yet area damage remains limited, and pet behavior can feel unreliable in high tiers. Hybrid companion setups can grind content through defensive value and steady chip damage, yet clear speed stays mid compared to Pulverize or Shred styles.
Stormclaw Shred variants add lightning procs for area damage, yet the setup and scaling sit below the top Druid options. Trampleslide needs cooldown windows and proper setup, and downtime lowers push efficiency. Both remain workable, yet they demand more effort for the same result.
Blood builds stay viable through sustain and fortify play. Blood Lance offers multi target pressure with periodic big hits, and Blood Surge offers close range AoE plus self healing. Raw damage sits under top bone and top shadow setups, yet survival can feel very stable during rough content.
Blood Wave builds lose some automatic value from item changes, and standalone versions sit mid in tier value. Pure darkness damage over time caster styles sit mid due to scaling limits, while hybrids can perform stronger with the right pairing. These builds can clear, yet they demand tighter optimization.

C-Tier builds struggle in Season 11 endgame. Damage scaling falls behind, pacing turns slow, and the risk often feels too high for the reward. These builds can clear content with strong gear, yet high-tier pushing and fast farming usually feel rough.
A pure Thorns Barbarian relies on getting hit to deal damage. Season 11 has a strong thorns style on Paladin, yet Barbarian lacks the same tool set for fast kills. The result is slow clears and weak boss damage, so this build sits low.
Leapquake focuses on spamming Leap to trigger Earthquake damage. Leap feels faster in Season 11 due to attack speed scaling, yet the damage stays behind top Barb builds. It can feel fun for low difficulty farming, while bosses and deep pushes take too long.
Kick got buffed, yet the extreme version got limited. Fury use gets capped, and a health drain is described after a mega kick, so the build loses the one-shot fantasy. Kick can exist inside other builds, yet a Kick-only setup performs poorly in high content.
Stealth in Diablo 4 works like a defensive tool, so builds trying to play permanent stealth have high downtime. Damage ends up low compared to core Rogue options, so the concept becomes niche.
Death’s Pavane is described as underwhelming for trap play. A build that treats these pants as the main engine ends up weaker than standard trap setups. This makes the concept a poor choice for endgame.
Pure Arc Lash is described as extremely inefficient and risky. Sorcerer defense tools get weaker in Season 11, so melee play becomes dangerous. Arc Lash can work in hybrids, yet as a main plan it sits very low.
A build that tries to rely on Hydra, Ice Blades, and Lightning Spear as main damage tends to kill slowly. These skills support stronger builds, yet they fail to carry endgame alone. The result is a niche, slow clear style.
A full companion Druid relies on long cooldown hits and pet AI. Damage feels low across high tiers, and clears slow down versus top Druid options. This build can exist for flavor, yet endgame value stays limited.
Tornado can feel inconsistent due to movement patterns, so damage becomes hit-or-miss. Without a strong synergy core, it falls behind Season 11 leaders. This makes it hard to recommend for pushing.
Pure Sever and pure Blight casting sit below the main Necromancer leaders. The text points to lost scaling and weaker performance for older shadow damage over time plans. These builds can still function, yet they lack top-end output.
Corpse Explosion gets a damage buff, and it becomes playable again, yet it still remains labeled as C-tier. It works in low and mid content, while high tiers expose its scaling limits.
This Diablo 4 season 11 tier list section covers D-Tier and F-Tier. These tiers mean weak performance, slow clears, and poor scaling into endgame.
D-Tier builds can clear low difficulty, yet high tier content becomes painful. Damage stays low, defense tools feel thin, and the build often needs rare gear just to function.
Arc Lash Sorcerer sits in D-Tier due to low value in Season 11. The concept forces close range play, and the season shifts remove key safety patterns that this style used before.
Pure tank or pure Thorns Barbarian lands in D-Tier when the plan relies on reflect damage as the main kill method. Time to kill becomes long, and bosses turn into a slog.
Pure Darkness caster Necromancer, focused on Sever or Blight as the main engine, falls into D-Tier in this text. The reason is lost scaling and low endgame output compared to other Necromancer paths.
Full companion Druid can land in D-Tier when companions act as the main damage source. Cooldowns and pet scaling limit progress in high tiers.
F-Tier builds waste time and reduce success rate. The build feels worse after adding the key item or concept, so progress slows down fast.
Death’s Pavane Poison Trap Rogue variant is marked as a failure in this text. The pants add a mechanic that slows the loop, and the payoff stays small, so overall output drops.
A Thorns Barbarian with near-zero direct damage can fall into F-Tier as a gimmick. The character survives, yet clears take too long to stay practical.
After this Diablo 4 Season 11 tier list ends, the traveler leaves the Horadrim page with one clear rule – Season 11 revolves around Sanctification powers, mythic item reworks, Azmodan as a new world boss, and the Tower dungeon climb, so the build choice decides how smooth the Pit feels and how hard boss fights hit.
In this Season of Divine Intervention, S tier and A tier builds aim for deep endgame clears, B tier builds clear fine with tighter play, and C–F tiers fit challenge runs where style matters more than results.

Diablo 4 Season 11 tier list – pick S tier legends, learn A–B picks, and avoid D–F traps in the Pit, Azmodan fights, and Tower runs.
Diablo 4 Season 11 tier list – pick S tier legends, learn A–B picks, and avoid D–F traps in the Pit, Azmodan fights, and Tower runs.
Diablo 4 Season 11 tier list – pick S tier legends, learn A–B picks, and avoid D–F traps in the Pit, Azmodan fights, and Tower runs.

The Horadrim uses the Diablo 4 season 11 tier list to rank builds for endgame play, with focus on Pit pushing and Tier 100 clears.
Season 11 adds Sanctification powers, mythic item reworks, a large balance patch, Azmodan as a world boss, and a Tower dungeon with layers and leaderboards.
S tier includes Lunging Strike Barbarian, Hammer of the Ancients Barbarian, Death Trap Rogue, Crackling Energy Sorcerer, Hydra Sorcerer, Pulverize Druid, Shadowblight Necromancer, and Triple-Golem Necromancer.
Lunging Strike becomes a main damage engine with attack speed scaling and resource bonuses, so the Barbarian keeps strong pressure with high mobility during deep dungeon pushes.
Hammer of the Ancients scales with stored Fury, so the slam lands as a huge burst when the resource pool is prepared before impact.
Death Trap Rogue controls packs with pull and burst, and cooldown reduction enables frequent ultimate use for repeat damage windows.
Crackling Energy turns movement into damage, and Teleport support helps positioning while lightning orbs keep constant hits around the Sorcerer.
Pulverize Druid hits wide areas with overpower slams, and the guide describes it as able to push the Pit in Season 11.
Triple-Golem Necromancer uses the Gravebloom unique scythe to summon three golems, then plays around command timing for big burst windows.
A tier builds clear endgame content and stay reliable in most activities, yet they usually need tighter execution or stronger gear for peak pushing.
B tier builds clear endgame with correct play and gear, yet the pacing feels slower and the comfort drops during high push content.
C tier builds struggle in Season 11 endgame, and scaling falls behind, with examples like Corpse Explosion staying labeled as C-tier after buffs.
D tier builds clear low difficulty, yet high tier content becomes painful, with low damage and thin defense tools that demand rare gear.
F tier builds waste time and reduce success rate, and the text marks the Death’s Pavane Poison Trap Rogue variant as a failure due to weak payoff.
The traveler should pick a build that fits the goal, so Pit pushing leans to S tier picks, while Tower climbing can use A tier comfort with solid gearing.

GTA 6, new seasons, major updates — get ready to dominate from day one.