








Call of Duty Boost
Does Woods Die In Black Ops 1? The Full Answer For Real
All six Kowakujo Cursed relics finally mapped: locations, trials, softlocks, and the real effects.
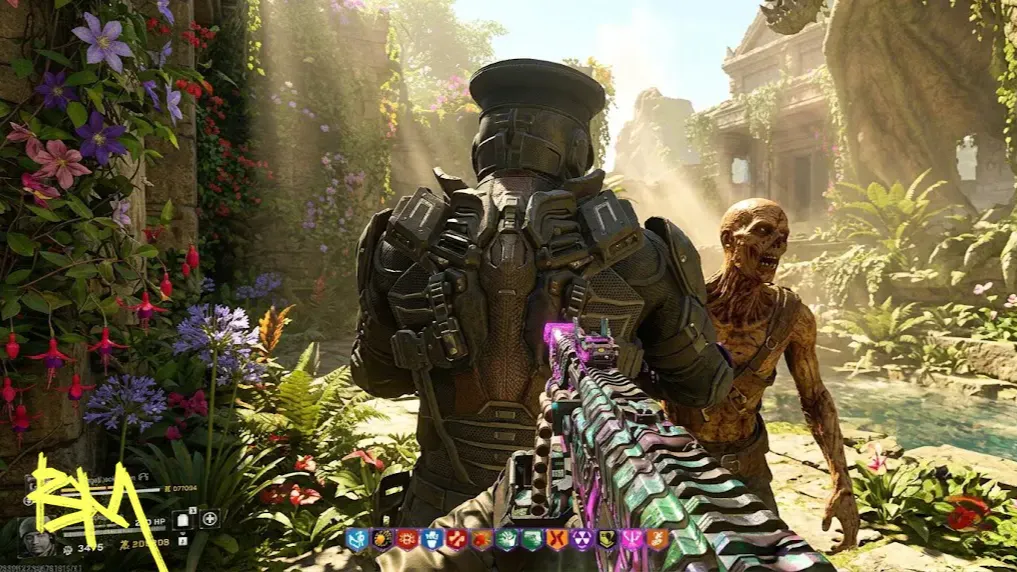
Kowakujo does not hand out its black ops 7 zombies kowakujo relics for free. Six relics exist, split across three tiers, and every single one gates you behind a trial designed by someone who clearly hates you personally. This cursed mode guide walks through all six unlocks, the trial mechanics, and the effects you actually get, not the effects a rushed video told you that you get.

Before touching any relic, you need the main Easter egg done once. That is the entry fee. After that, tier requirements vary per relic, so check each section below before you waste a run.
| Relic | Tier | Unlock Summary | Effect |
|---|---|---|---|
| Gramophone | Grim | Drumsticks, Simon Says, sniper only trial | More bullet damage, costs 2 bullets per shot |
| Druid Stone | Grim | Reach round 20 with zero damage taken | No bleedout, instant self revive |
| Film Reel | Sinister | Pack a Punch 10 unique weapons | Locked to one Pack a Punch weapon |
| Valkyrie Helmet | Sinister | Maneki Neko upgrade, shards, bowl, catnip | Standing still spawns damaging electric fields |
| Mannequin Turret | Wicked | Round 60, never fail an assault wave | No starting armor, gold armor only |
| Dragon Egg | Wicked | Path of Sorrows, 3 symbols, Mr Peeks trial | Random elite and special spawns on normal rounds |
Any tier or round works for this one, which is refreshingly generous by Kowakujo standards. Grab two drumsticks first. One sits on a window in the Gatehouse, the other is in the Workshop between the open windows opposite the Arsenal. Take both to the Kitchens, where two drums wait upstairs from the Flower Garden.
The gramophone relic trial is sniper rifles only for four waves, so buy and Pack a Punch the XR3 ION near the Pack a Punch machine before you walk in. Waves two and four throw HVT onryo at you, so headshot those first and let everything else queue behind them.
Equip it later and bullets hit harder while burning two bullets per trigger pull, basically Double Tap wearing a different mask.
Tier one or higher, and you need round 20 without taking a single point of health damage. Armor damage does not count, so Jugger Nog plus Turtle Shell buys you room to breathe. Load up on Wall Power, Killjoy, and Power Keg gobble gums, and run Ether Shroud as your field upgrade.
Open the right pathway from spawn, capture the right flag, then open the courtyard. Buy the Warby M34 Noble Liner in the Kitchens with Wall Power active, then head back and open the left door for stamina from the staging area. Grab Speed Cola from the Gatehouse and Double Tap from the Kitchens, then just circle the main courtyard and stay patient. Save your instakill gobble gums and Ether Shroud for when onryo actually spawn.
A cheeky option some players use is having a fourth player join right as round 19 tips into 20, which can open the trial without the no damage requirement, though expect this to get hotfixed sooner or later.
Clear round 20 clean and a portal opens in the Flower Garden. Inside, zombies only take damage while you are overhealed, so use the blossom trees, four of them scattered around the map in the staging area, training area, Kitchens, and Tenshu entrance. Knife a tree, stand under it a few seconds, and you get 10 HP of overheal to spend on killing things. Four waves total, HVT rounds on two and four. Win it and the druid stone relic removes your bleedout state entirely and makes self revives instant.
Tier one plus, and the objective is simple to state and annoying to do. Pack a Punch 10 unique weapons in one match, using the machine or an aetherium crystal. Gobble gum upgrades alone do not count, though a gobble gum upgraded gun can still be run through the machine afterward and count. In co-op, the 10 count is shared across the whole squad, so communicate who is upgrading what or you will duplicate effort for nothing.
Do not open the cat cafe side quest or finish the main Easter egg boss fight while chasing a different relic. Both mistakes can softlock the relic you are actually working on, and there is no undo button in Cursed mode.
Once 10 unique weapons are done, a yellow portal spawns in the Tea Garden for the film reel relic trial. Five waves, and zombies can only be killed with five rotating score streaks: Ion Core, HKD, the Dog, ARC XD, and LDBR. Everyone gets one of each per wave, crafted at the workbench using salvage, so bank around 10000 salvage per player in co-op or 15000 solo before you commit. Circle Ion Core and the Dog in open ground, bunch zombies for the HKD explosion, loop the ARC XD like a chase mission, and drop the LDBR at your feet while running a tight circle. Complete all five and the relic locks you to carrying only one Pack a Punch weapon at a time, which is a brutal joke after everything you just did to earn it.
This is the longest checklist on the map, tier one plus, and every step can be done before round 40. Build the upgraded Maneki Neko first. Matches sit on a Kitchen shelf near Double Tap, coal is by the Kitchen stove, and the powder drops if you reload near the Tenshu entrance ghost trap. Craft the upgrade at the Workshop bench.
With the upgraded Maneki Neko down, get kills using the charged shot of the nekomancer wonder weapon inside its bubble to farm four broken shard pieces, small and faintly orange, easy to miss on the ground. Toss the shards into the kitchen fireplace and throw a molotov at it to reassemble them into a bowl. Then run the cat cafe side quest for catnip, place the bowl on the flat rock by the big tree in the central courtyard, and feed it around 50 wonder weapon kills during an assault wave at that location.
Doing so spawns a portal in the Training Area, where the trial rule is that reloading detonates you for roughly 40 HP per reload. Camp with the Nekomancer so you barely need to reload, survive five HVT waves, and collect the valkyrie helmet relic. Equip it and any spot you linger in starts spawning electric fields that punish you the longer you stay, which kills camping strategies dead. Note this is not the highlight enemies effect some guides list, that description belongs to an earlier build.
Tier two or higher, and this is the one everyone wants for that classic Cursed feel: it strips your starting armor entirely. To unlock it, survive to round 60 without failing a single assault wave. The zombies can take the outer area during an assault, but the inner objective must hold every time, no exceptions.
Round 60 clean opens a red portal in the War Room for the mannequin turret relic trial. Health regen is off entirely, healing only at the end of each wave, though Light Mend orbs and stims still work mid wave. Bring Frenzy Guard, cherry blossom glow, and gobble gums like Temporal Gift, Killjoy, and Cache Back. Six waves total, with HVT onryo on waves three and six. Win and you get gold armor from the wall only, but it auto replenishes, which is the entire point.
The hardest unlock on the map, tier two plus, and it demands almost the entire main Easter egg. Push the quest up to the Path of Sorrows katana, and the murder mystery step must be solved correctly on the first attempt or the whole relic run is dead for that game.
With the katana in hand, parry an onryo lightning attack to charge the blade, then melee three symbols scattered across six possible spots (Outer Ward, Stables, Workshop, Flower Garden, Tenshu Eaves, Storage Rooms) in the order the game shows you, brightest glow first. Each correct hit turns a symbol red, and all three done right triggers Mr Peeks laughing and a red portal in the Onsen Baths.
The kowakujo relic trial here is called Survive Mr Peeks Six Tiers of Insanity, and it is exactly as pleasant as it sounds.
Finishing the regular boss fight instead of the trial locks you out of the dragon egg relic for that match, so commit before you get near the boss room. Clear all six tiers and the reward is that elite and special zombie spawns get randomized on normal rounds, which is less a power spike and more a chaos switch, useful mainly for forcing specific enemy types to appear for camo grinding.
That covers all six relics. None of them are convenient, all of them are worth the bragging rights, and at least one of them will make you rage quit before you finally clear it.

All six Kowakujo Cursed relics finally mapped: locations, trials, softlocks, and the real effects.
All six Kowakujo Cursed relics finally mapped: locations, trials, softlocks, and the real effects.

All six Kowakujo Cursed relics finally mapped: locations, trials, softlocks, and the real effects.

Any Cursed tier and any round works, making it the easiest relic to chase on this map.
No, that effect is outdated. It randomizes which elites and specials spawn during normal rounds instead.
Yes, failing the murder mystery or finishing the regular boss instead of the trial both lock you out that game.
Lingering in one spot spawns damaging electric fields, forcing constant movement instead of camping one corner.
Ten unique weapons in one match, shared across the whole squad if you're playing co-op.

GTA 6, new seasons, major updates — get ready to dominate from day one