

Battlefield 6 Boost
Battlefield 6 Season 4: The Complete Tsuru Reef Manual
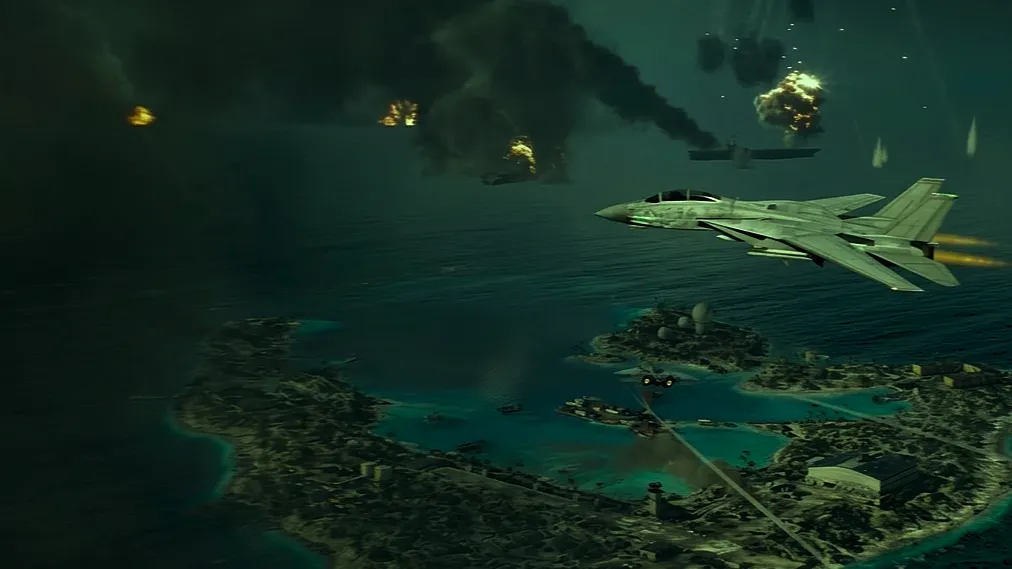
Tsuru Reef's full layout just got broken down for Season 4: the real hot zone, the best sniper spots, and where to stage every boat.
 Adam Hayes
Tsuru Reef is not a normal Conquest map with water added on top. The whole layout is built from six islands strung together by open ocean and shallow waterways, and treating it like a land map with a lake in the middle is the fastest way to spend a match losing. This tsuru reef map guide walks through every named sector, where the fighting actually concentrates, and where to leave your boats so your squad is not swimming to the next fight.
Four main islands make up the contested space, plus a smaller home island for each faction. There is no official letter for every tsuru reef flags designation the way older maps use A through I, but each main island holds one or two named points of interest, and each one plays completely differently depending on whether you arrive by boat, on foot, or from the air.
The tsuru reef hotel everyone keeps talking about is the Majestic Ikoi Resort, sitting in the center of the island chain. It mixes tight hotel room clearing with open poolside fights, and the whole building can be blown apart by a patrol boat, aircraft, or an Engineer with the right gadget, which constantly reshapes sightlines mid match. To the east sits Mount Hoshizora, a dormant volcano that is not a capture point but gives an elevated, exposed view across the whole island chain, useful for a Recon overwatch position if you can survive standing on it.
The central island holds Mifune Landing and Tsuru Gate, and this is the connector for the entire map. Whoever holds it gets land routes running to every other island in the chain, which makes it worth fighting for even when it is not the point currently flipping. Rocky outcroppings and dense vegetation let a coordinated squad rotate through relatively unseen, pushing toward the resort from the northwest, the northeast, or the south depending on where the fight has thinned out.
Tsuru Air Base and Tsuru Port sit on the most heavily militarized island, and it shows. The terrain here is already half destroyed, which keeps sightlines low and fights closer to even than the resort's open pool decks. The base's landing strip is intact enough for aircraft to touch down for a quick repair or throw off a pursuer, and the nearby Crag Arch offers natural cover along with the wreck of a downed helicopter for anyone pushing on foot.
Sunrise Harbor and Moon Shore round out the fourth island, closer to the Pax Armata side of the map. The harbor's U shape was clearly built for naval vehicles to duel in, and the abandoned houses and warehouses around it give infantry somewhere to hide from the crossfire. On the southeast corner, Hitode Lagoon connects this island to the central landing and the resort, and the cliff above it is one of the best long range firing positions on the entire map, provided you accept that you are exposed on every side, including from the waterway running in and out of the harbor.
The two faction headquarters sit on their own smaller islands rather than out in the open contested zone, each with its own internal waterway for launching boats without immediately being shot at. The Pax Armata side sits closer to the main island chain, which means that team can realistically push in on foot in a pinch, while NATO's headquarters sits far enough out that the same crossing on foot is rarely worth attempting.
Ask which point actually decides a match and the answer settles the tsuru reef hot zone question: Mifune Landing, even though it rarely produces the highest kill count of any single flag. What it does instead is control access, since losing it cuts off the fastest route between every other point on the map, which turns it into a fight both teams are forced to keep returning to even when the ticket bleed is happening somewhere else. The Majestic Ikoi Resort is the louder fight in terms of raw chaos, since its destructible layout and open pool areas invite constant vehicle and infantry pressure at once, but Mifune Landing is the fight that actually decides who controls the map.
Working out the smartest tsuru reef vehicle spawns to grab starts with understanding that not every boat belongs in the same water. The two tsuru reef boat spawns worth remembering are the harbor and the lagoon, since parking the wrong boat in the wrong spot just means a slower, more exposed crossing than the map actually requires.
| Vehicle | Best Staging Point | Why |
|---|---|---|
| RCB-90 Patrol Boat | Sunrise Harbor | The U shaped harbor gives it room to maneuver and act as a mobile spawn for pushes on the resort or the central island |
| NSW RHIB | Hitode Lagoon | Fast enough to pincer around the outside while the harbor and resort stay busy with heavier boats |
| Aircraft | Tsuru Air Base landing strip | The only intact runway on the map for a mid match touch and go repair |
| Ground Vehicles | Tsuru Air Base and Tsuru Port | The most open, already destroyed terrain on the map, giving armor room to maneuver without hugging tight resort corridors |
Anyone hunting for tsuru reef sniper spots should head straight for the cliff above Hitode Lagoon or the higher floors of the Majestic Ikoi Resort before it gets torn apart. Both cover long sightlines across water, which matters more here than on almost any other map in the game, since stopping a boat before it ever reaches land is often the difference between holding a flag and losing it.
Working out the tsuru reef best class for this map is less about personal preference than usual. Engineer is close to mandatory, since anti vehicle gadgets are the only real answer to an enemy patrol boat parked on your flank. Recon earns its keep on the cliffs and rooftops picking off boats mid crossing, Support keeps a squad fed on an island where rotating back for ammo means an actual boat ride, and Assault is there to win the infantry clear once everyone else has done their job getting the squad onto the island in the first place.
For general tsuru reef conquest tips, the single biggest mistake is spawning at your home island and driving the entire way across open water every single time. Spawn forward on a squadmate, a boat, or a contested point instead, since every second spent crossing empty ocean is a second not spent on an objective. If you do end up swimming, do not just paddle across on the surface: dive under and use the wave troughs to break line of sight, since a soldier bobbing flat on open water is one of the easiest targets on the entire map.
The unnamed rocky outcrops and tsuru reef mt hoshizora itself are not capture points, but they are legitimate tactical tools anyway. Neither one gets contested nearly as hard as the main islands, which makes them good spots for a deploy beacon that lets your squad skip the boat ride entirely on the next respawn.

Tsuru Reef's full layout just got broken down for Season 4: the real hot zone, the best sniper spots, and where to stage every boat.
Tsuru Reef's full layout just got broken down for Season 4: the real hot zone, the best sniper spots, and where to stage every boat.
Tsuru Reef's full layout just got broken down for Season 4: the real hot zone, the best sniper spots, and where to stage every boat.

Mifune Landing, the central island, since holding it opens land routes to every other island rather than just producing kills.
Stage it in Sunrise Harbor. The U shaped layout gives it room to maneuver while acting as a spawn point.
Yes, it's the loudest fight on the map, with destructible buildings and open pool areas that draw constant vehicle pressure.
Engineer is close to mandatory for dealing with enemy boats, while Recon excels on cliffs picking off boats crossing water.
No, a swimming soldier is an easy kill. Always cross by boat with a squad instead of swimming alone.

GTA 6, new seasons, major updates — get ready to dominate from day one