
Battlefield 6 Boost
Wake Island Battlefield 6: Full Naval Warfare Guide
Stop guessing your Battlefield 6 settings. Here's exact controller, sensitivity, aim assist, and graphics setup pros use to dominate season 4
If your aim still feels like a shopping cart with a broken wheel, it is not the game's fault. Battlefield 6 best settings come down to three things: stop moving when you shoot, kill every visual distraction, and tune your deadzones so the stick stops lying to you. Everything below is copied from a controller player who genuinely out-shoots people using statistically better guns, and then padded out with extra research so you are not stuck guessing at the parts the original video only mumbled about.
None of this is glamorous. It is mostly discipline dressed up as settings.
Spread punishes movement, and Battlefield has never cared how good your reflexes are while you ignore that fact. The moment you engage a target, let go of your stick or your WASD keys entirely, because compact spread with the same recoil compensation puts drastically more bullets on target than trying to strafe and shoot at once. Do this while sliding into cover, while peeking a corner, while doing literally anything that involves a trigger pull.
Crouching and proning in and out of cover barely affects your aim, so abuse it freely. The move that actually matters at close range is the jump into slide into jump out, used inside roughly 5 to 10 meters, which makes you nearly impossible to track through doorways and windows. Push it past that range and the extra deviation from jumping and crouching starts costing you more hits than it earns.
Bullets leave the barrel of the gun model, not your eyeballs, which means the weapon physically wobbles as you strafe. Strafe right and your shots drift slightly left; strafe left and they drift slightly right. Compensate by aiming opposite to your strafe direction, and this still applies, just slightly reduced, while ADSing. For long range engagements where closing distance is not an option, tap fire or burst fire while standing completely still, since even a strong close range weapon can stay lethal at range if you stop feeding it spread.
Battlefield 6 controller settings are buried under a genuinely hostile number of submenus, so here is the shortlist worth touching. Field of view above 110 shrinks distant character models to nothing, and the aim curve exists specifically so small stick movements stay precise while full stick throws snap fast.
| Setting | Value | Why |
|---|---|---|
| Infantry aim sensitivity | 56 | Fast enough to snap, not so fast you overshoot everything |
| Field of view | 110 | Above this, distant targets become pixels |
| Zoom sensitivity / vertical zoom | 56, no uniform aiming | Keeps ADS distinct from hip fire speed |
| Aim assist | 100 (86 for sniping) | Community consensus leans toward maxing this on controller |
| Aim curve | Dynamic, acceleration 12 | Precise near center, fast at the edges |
| Left stick deadzone (center / axial) | 6 / 4 | Kills phantom inputs that add unwanted spread |
| Right stick deadzone (center / axial) | 2 / 4 | Keeps aiming responsive without drift |
| Zoom transition sensitivity smoothing | Off | Sharper distinction between hip fire and ADS speed |
Independent testing outside this video generally backs the same territory, with most guides recommending infantry aim assist somewhere between 80 and 100 and a slowdown value tuned down if it fights you during multi-target fights. Deadzones should be pushed as low as your specific stick allows before drift appears, and if diagonal aiming feels locked up, nudging the axial deadzone up a notch fixes it faster than rebuying a controller.
The acceleration slider, not the sensitivity slider, is what actually controls snappiness. Lower acceleration means faster, snappier aim. Higher acceleration means the slow, sluggish rotation speed people associate with older Battlefield titles. Leave your sensitivity alone and touch this instead.
• Full story completion unlocked
• Unlock all achievements
• Safe, secure campaign service
Set aircraft, gunner, and helicopter controls to the alternate profile and turn flight assist off entirely, since this frees your throttle onto the bumpers and triggers for genuinely finer control. Every vehicle in the game runs two reticles: a fixed one showing where you are looking, and a following one showing where your shots are actually going to land. Track the following reticle, not the fixed one, or you will miss and have no idea why. Ground transports are the one exception, since their default controls already match the alternate scheme.
Battlefield 6 graphics settings should be tuned for clarity, not for a wallpaper screenshot. Every motion effect you can disable is actively working against your ability to see an enemy silhouette, so turn off weapon motion blur, world motion blur, chromatic aberration, vignette, and film grain without hesitation, and drop camera shake as low as it will go.
Setting | Recommended value |
|---|---|
World / UI brightness | 55 / 60 |
Sharpness | Increased above default |
Battlefield 6 FOV | 105 to 115, depending on how close you sit to the screen |
Motion blur (world and weapon) | Off |
Camera shake, vignette, film grain, chromatic aberration | Off or minimum |
Crosshair projection | Off, keeps the reticle perfectly centered instead of drifting |
HUD motion | Off wherever the option exists |
For Battlefield 6 HUD settings, set crosshair and hit marker colors to something that never naturally occurs on a character model, since a bright reticle color you can always find instantly beats one that blends into every map's default palette. Bump enemy and friendly color contrast up in the accessibility color profile menu too, because your brain reacts faster to sharp contrast than to subtlety, and subtlety has never won a gunfight.
On the performance side, general graphics guidance for season 4 lines up with disabling screen space reflections, dropping effects and volumetric quality, keeping texture quality high so enemies stay readable at range, and enabling your GPU's upscaler in quality mode rather than leaving it off entirely.
Battlefield 6 keyboard and mouse settings are simpler than the controller side, which is presumably why fewer people ask about them. A sensitivity of 20 with uniform soldier aiming off, mouse sensitivity coefficient set to zero, and uniform soldier aiming enabled elsewhere is the combination most competitive players have historically settled on. A glass mousepad and a mouse with reliable tracking matter more here than any slider does.
A high refresh rate monitor and a system pushing 200 or more frames genuinely reduces input latency, but you do not need a flagship rig to copy these values. Sitting closer to the monitor, roughly 20 to 30 centimeters away on a 27 inch screen, fills your peripheral vision and sharpens micro adjustments without turning you into a caricature of a Counter-Strike player. A controller with a high polling rate, ideally in the thousands, removes another layer of latency entirely for free.
None of this replaces practice. Sit in a Portal firing range, keep these values, and stop touching them every time you lose a gunfight out of panic. That impulse is the actual problem, not your deadzone.

Stop guessing your Battlefield 6 settings. Here's exact controller, sensitivity, aim assist, and graphics setup pros use to dominate season 4
Stop guessing your Battlefield 6 settings. Here's exact controller, sensitivity, aim assist, and graphics setup pros use to dominate season 4
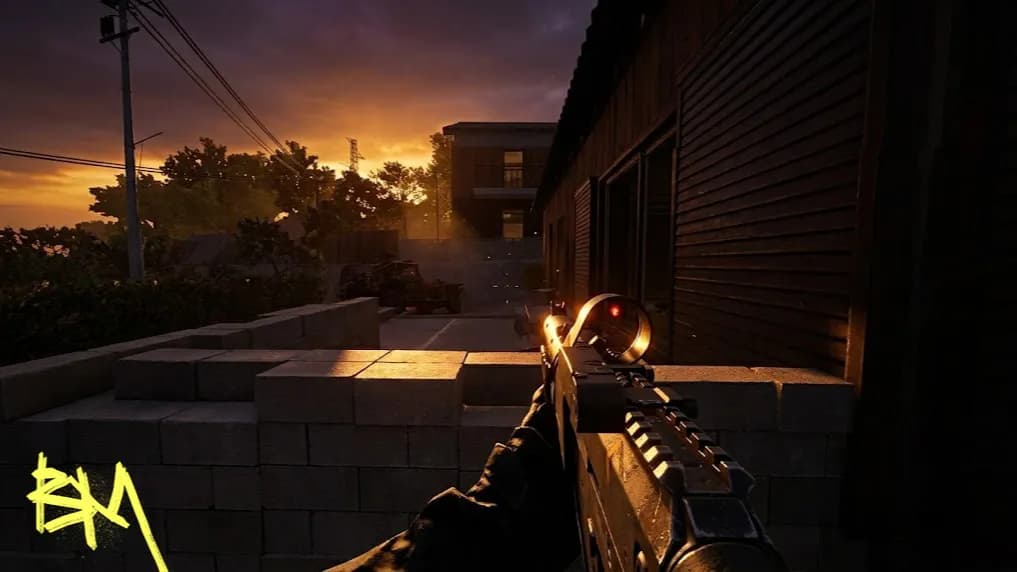
Stop guessing your Battlefield 6 settings. Here's exact controller, sensitivity, aim assist, and graphics setup pros use to dominate season 4

Around 56 aim sensitivity with dynamic curve and acceleration 12 works well; adjust between 40 and 60 to taste.
Yes, disable weapon and world motion blur, camera shake, vignette, and film grain to remove visual noise and improve target visibility.
Between 105 and 115 works best; going higher shrinks distant enemies and makes them harder to hit.
Weapon inertia physically wobbles your gun model when strafing, so compensate by aiming slightly opposite your movement direction.
Around 6/4 on the movement stick and 2/4 on the aim stick reduces phantom inputs without introducing noticeable drift.

GTA 6, new seasons, major updates — get ready to dominate from day one